
Denim is a staple fabric in wardrobes around the world, prized for its durability, character, and timeless appeal. But a successful garment project starts long before the cutting table. The quality of the denim you choose—carefully evaluated before you lay out patterns—will influence fit, longevity, and overall garment performance. This guide walks you through practical, reliable checks you can perform on denim fabric before cutting. It blends hands-on inspection, simple at-home tests, and design-focused considerations so you can select the right denim for jeans, jackets, skirts, or casual pants. Whether you’re a small atelier, a design team, or an independent sewist, these steps help you avoid surprises down the line and protect your brand’s reputation for quality.
Why checking denim quality before cutting matters
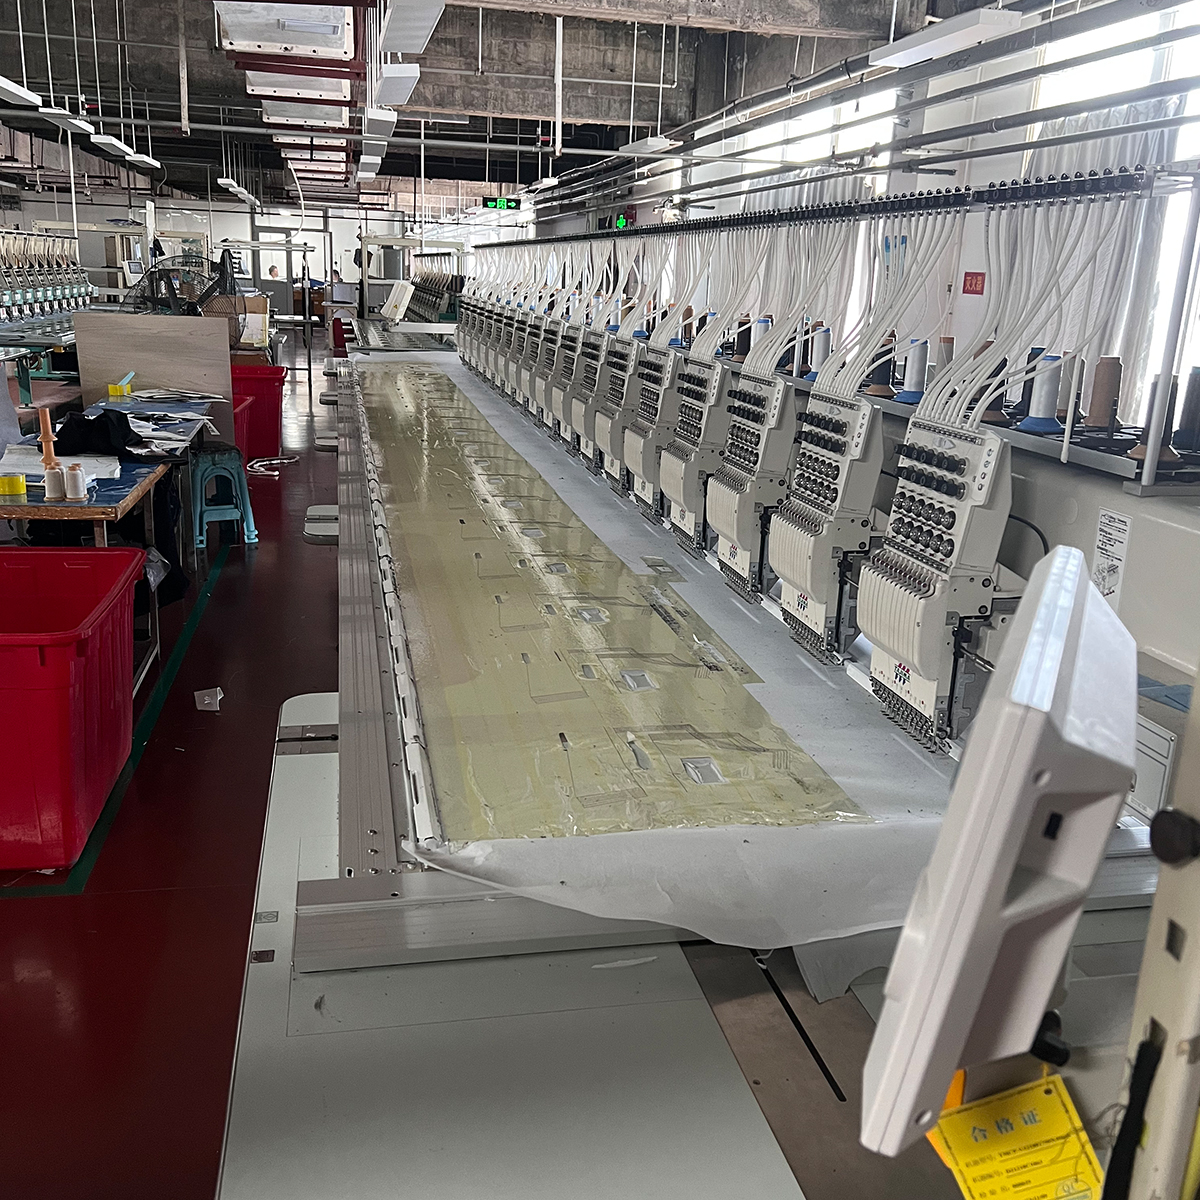
Cutting is the most resource-intensive stage of garment production. Once the fabric is cut, any misalignment, excessive shrinkage, or dye transfer can be costly and time consuming to correct. Denim is a woven fabric with a distinctive twill weave, typically showing diagonal lines when viewed from the right side. It comes in a range of weights, finishes, and dye methods, from raw selvedge denim to more engineered, preshrunk varieties. The right denim should align with your design intent—weight for durability, color and finish for aesthetic, stretch for comfort, and loom quality for consistency. A disciplined pre-cut quality check reduces waste, ensures consistent grain, and helps you forecast shrinkage, colorfastness, and wear performance. This section covers practical, repeatable checks you can perform before you commit to cutting.
Visual inspection: first impression matters
Start with a clean, ample, uncluttered workspace. Lay out a full width of fabric on a flat, smooth table to assess the overall characteristics. Look for the following:
- Weave uniformity: Inspect the diagonal twill line. Uniform spacing and consistent dyework across the fabric indicate a well-controlled loom process. Irregular slubs or nep piles can signal manufacturing variability that may show up as dimension inconsistency after cutting.
- Selvage edges or edge quality: If you’re evaluating selvage denim, check the selvage width, color consistency along the edge, and the tightness of the weave at the seam. For non-selvedge denim, examine edge fraying and the presence of stray threads that could snag on a sewing machine.
- Color distribution: Look for uneven dye, dark or light patches, or streaking. Uneven dye can indicate poor dye fixation, recycled or misaligned dye lots, or post-dye processing differences that may affect match across multiple pieces or batches.
- Surface texture: Run your fingers along the fabric. It should feel even and smooth in the main area, with a controlled degree of texture from the weave. Excessive roughness, sharp knots, or protruding slubs may indicate irregular yarns or poor finishing.
- Knots, neps, and blemishes: Small lumps or irregularities can become stress points under tension. While denim often has intentional character, obvious defects can compromise garment performance if concentrated in critical areas such as knees or hips.
Visual inspection gives you a qualitative snapshot. It helps you decide whether to proceed with a full quality assessment or request a different lot from the supplier. For designers and brands, early visual cues can also inform your line’s consistency plan across multiple fabrics and shipments.
Feel and handle: the tactile test
Physical handling complements visual observation. The right denim should offer a balance of stability and drape appropriate for the intended garment. Perform these checks by hand:
- Weight and drape: Weigh a sample swatch and compare to the expected weight range for your project. Common denim weights vary from 9 to 14 ounces per square yard (oz/yd²) for everyday jeans to heavier options for workwear. A heavier denim should not feel chalky or crumbly; it should respond with a crisp but not overly stiff hand. Lightweight denims may feel supple yet still reveal strength upon tension.
- Hand feel: Run your fingers across the fabric in both directions. The face should feel slightly slick from the dye and finishing, while the back should have a firm texture with little give. If the fabric feels overly slack or gummy, it may indicate excessive finish, residual sizing, or a biased weave that could distort after cutting and sewing.
- Stretch and elasticity (for stretch-denim): If you’re evaluating stretch-denim, measure its stretch in vertical and horizontal directions. Subtle give can improve comfort and fit, but too much elasticity may cause dimensional instability or sagging in finished garments. Check recovery by stretching the sample and letting it relax; it should return to near-original dimensions.
- Uniformity of the surface: A uniform hand suggests consistent yarn quality and finishing. If certain areas feel noticeably different, it could imply uneven dyeing, inconsistent finishing, or variable yarn thickness that may complicate pattern grading and seam allowances.
Hands-on handling helps you sense the fabric’s intent and whether it aligns with your garment’s construction requirements—especially when precise grain and match are critical for pockets, yokes, or side seams.
Weave integrity, grain, and loom state
Denim is a woven fabric, and a significant portion of its performance depends on weave integrity and correct grain alignment. Use these checks to assess loom quality and fabric stability:
- Grain alignment: Check the warp and weft lines along the width and length. A misaligned grain can cause skewing and seam puckering after cutting. When possible, identify the warp direction by following the diagonal twill lines from selvage to selvage; this helps you place your pattern pieces with the correct grain orientation.
- Twist and skew: Gently pull a small edge to see if the fabric behaves consistently in tension. If you notice twisting, curling, or curling along the edges, it may indicate looms with inconsistent tension or fabric that is not properly stabilized before finishing.
- Selvage vs. non-selvedge implications for layout: With selvage denim, the edge color and width are fixed. This can constrain pattern layout but offers a built-in reference for grain and width. Non-selvedge denim may require more careful layout planning to ensure proper grain alignment and seam allowances across large panels.
Attention to grain is essential for a clean finish, precise hems, and stable garment drape. The more consistent your grain across the fabric, the more predictable your cut results will be, reducing the time spent adjusting patterns during sewing.
Dye and colorfastness: safeguarding longevity and appearance
Colorfastness ensures your denim’s finish holds up to washing, abrasion, and daily wear. Evaluate dye behavior with straightforward tests:
- Rub testing for color transfer: On a small, inconspicuous area, rub a clean white cloth with moderate pressure across the fabric in multiple directions. If the cloth shows dye transfer, this is a sign to measure colorfastness and consider whether the denim will bleed onto seams, pockets, or other fabrics in your final garment.
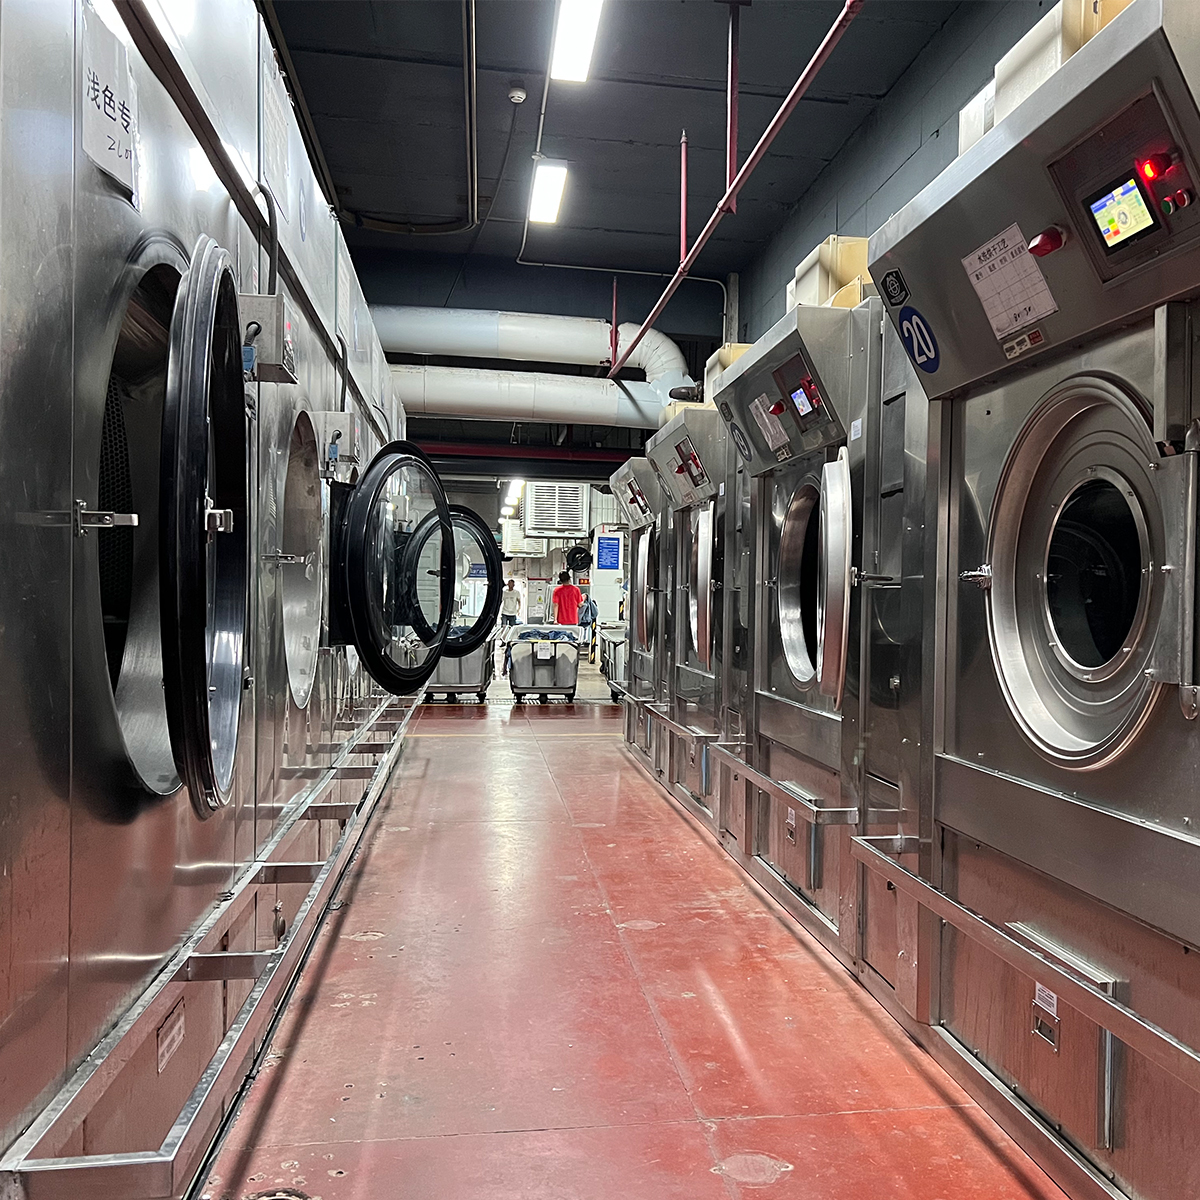
- Soak and wash behavior: If you have access to a washing machine, perform a controlled wash cycle on a sample swatch separately from the rest of the fabric. Compare the washed swatch to the original in color and texture. Note any color fading, dye migration, or changes in surface texture. For non-selvedge denim, the color changes may be more uniform; selvedge denim can show characteristic edge color retention, which you may want to preserve for the final look.
- Color uniformity across the width: Examine the fabric under different lighting, including daylight and artificial light. Uneven dye distribution may appear as lighter or darker bands, which will be highly visible on garments with large panels or light color contrasts.
For brands emphasizing color consistency across batches, procuring fabric from a single dye lot can minimize discrepancies. If multiple lots are involved, plan wider color matching margins and incorporate sample swatches into your pre-cut evaluation process.
Fabric finish, weight, and shrinkage expectations
Denim finishes influence how the fabric behaves after cutting and during wear. Consider finish type, weight, shrinkage control, and pre-treatment when assessing suitability for your project:
- Finish and pre-treatment: Mercerized, sanforized, ring-spun, and other finishes affect feel, color retention, and shrinkage. Sanforized denim is pre-shrunk to minimize post-purchase shrinkage, which can be crucial for ensuring consistent fit after laundering. If your garment requires precise measurements, verify whether shrinkage has been controlled and to what extent.
- Weight and its impact on seams: Heavier denims (12-14 oz and above) demand stronger seams, durable thread, and appropriate needle choices. Lighter denims may require different needle sizes or stitch lengths. Align weight with your sewing approach to avoid seam breakage or puckering during finishing and wear.
- Durability indicators: Look for signs of robust fiber integrity such as consistent fiber length and minimal broken yarns. Excessively short fibers or inconsistent fiber distribution can point to weaker resistance to abrasion and lower lifecycle performance.
Weight and finish also affect the garment’s silhouette, drape, and comfort. For a tailored pair of jeans, you might prefer a slightly stiffer denim with less initial stretch, while a casual jacket might benefit from a more drapey finish that softens with wear. Matching fabric properties to the intended design is a practical way to reduce post-cut surprises.
Fiber content, yarn quality, and construction details
Understanding the fiber mix and yarn quality helps you anticipate shrinkage, color performance, and overall strength. Use these checks as a guide:
- Fiber composition: Most denim is cotton-based, but blends such as cotton-spandex or cotton-poly blends are common for stretch-denim. If your design requires a specific stretch profile or recovery rate, confirm the exact blend and the fiber counts per yarn. Higher cotton content generally means more traditional denim behavior, while blends can enhance comfort or shape retention.
- Yarn twist and uniformity: Look at the yarns along the fabric’s surface. Consistent twist and uniform thickness indicate stable production. Irregular yarn thickness can cause puckering at seams and uneven dye deposition, complicating cutting alignment.
- Weave direction markers: Some denims include visible indicators of grain direction or loom orientation. If present, make sure your pattern placement respects these cues to preserve the intended visual appeal of the final garment.
In the context of OEM or ODM production, a supplier with clear documentation on fiber content, yarn twist, and weave specifications provides a reliable baseline for fabric performance and consistency across production runs. This reliability translates into predictable cutting layouts and fewer reworks during production.
Test plan: a practical, repeatable approach
Here is a concise, repeatable test plan you can apply to any denim you’re considering for a cutting project. It combines the previously described checks into a workflow you can perform in a single session or across a few samples for batch comparison.
- Initial visual and tactile scan: Inspect uniformity, selvage behavior, color distribution, and surface texture. Note any deviations in a simple checklist or a digital note.
- Grain and weave verification: Align the fabric and check for grain consistency by tracing a straight edge along the width and along the length. Confirm that diagonal lines run parallel and that selvage edges, if present, are uniform.
- Weight and hand assessment: Compare swatches to the target weight range and test for overall hand feel, stiffness, and drape characteristics with a quick bend test and a gentle pull test.
- Colorfastness to friction (rub test): Rub a small area with white cloth across different directions. Observe dye transfer and check the fabric’s surface for color loss after a light wipe.
- Shrinkage check (if possible): Sew a small swatch into a simple stitch pattern with placeholders for future seams. Wash and dry according to your expected process, then measure any shrinkage in length and width. Compare to the original dimensions to estimate how it will behave in finished garments.
- Finish assessment (sanforized vs. untreated): If you have access to documentation or can perform a direct check, verify whether the fabric has been pre-shrunk. If not, plan for potential shrinkage and adjust your pattern guidance accordingly.
- Cutting plan alignment: Once you’ve chosen a lot, lay out your pattern pieces on a single test swath or a panel to confirm grain, pattern matching, and waste estimates before committing to full-scale cutting.
Document your findings with photos and short notes. This creates a reference library for future orders and helps you communicate fabric expectations to clients or internal teams. A well-documented test plan makes it easier to compare lots, forecast finish quality, and maintain consistency across production cycles.
Practical styles for different garment outcomes
Every garment project benefits from a tailored assessment approach. Here are three practical styles you can apply depending on the final product:
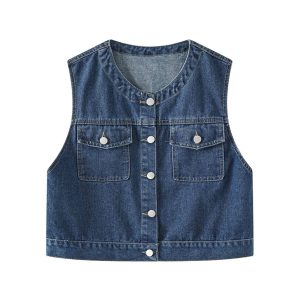
For rugged workwear jeans: Prioritize denims with higher weight, good yarn integrity, and strong colorfastness. Look for very tight weave control and minimal flecks. A sanforized option with a stable shrinkage expectation keeps the fit consistent after multiple washings.
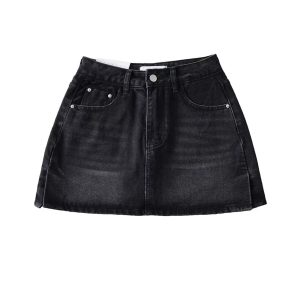
For fashion-forward jeans with a clean silhouette: Focus on uniform color, controlled surface texture, and consistent finish. Subtle slub patterns can be desirable, but avoid heavy variation that would hinder matching across panels or pockets.
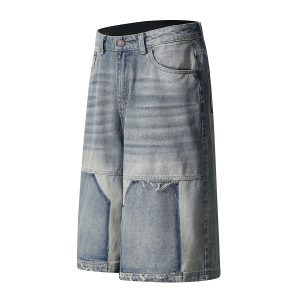
For lightweight casual denim jackets: Check break-in behavior and drape, ensuring the fabric offers comfortable mobility without excessive stretch that would distort seams. A balanced denim with moderate weight and good recovery suits garments that require shaping and structure.
In each case, the checks above translate into choices about pattern layout, seam allowances, thread selection, needle type, and finishing steps. The style approach you choose should align with your brand’s identity and the garment’s intended use, ensuring a durable, aesthetically pleasing result from the first cut onward.
Common red flags and what they mean
While evaluating denim, you’re likely to encounter several warning signs. Here are frequent red flags and practical interpretations:
- Excessive color migration or staining: Dye incompatibility with future washes can ruin outfits and require costly remediation. Consider requesting a dye-fastness certification or choosing a different lot from the supplier.
- Visible slubs or neps concentrated in one region: May indicate inconsistent yarn quality or uneven dyeing. If the pattern requires large flat panels, these irregularities can be glaring and hard to hide with stitching alone.
- Uneven width or curling edges: Suggests tension issues in the loom or post-weave processing that could affect pattern alignment. This is especially problematic for precise panels like pocket flaps or yokes.
- Low recovery on stretch-denim: Poor recovery means the fabric may sag or bag after wearing. It can lead to a garment that looks worn rapidly and fails to hold shape.
- High variation between the same lot samples: Indicates unreliable supply. Consistency is critical for production planning and fabric budgeting across multiple orders.
These signals aren’t always deal-breakers—some brands embrace intentional character—but they warrant deeper discussion with suppliers, potential sampling, or alternate lot selection to protect your design integrity and production timelines.
Documentation and supplier collaboration
Working with reputable suppliers who can provide clear documentation helps you scale your denim projects with confidence. Consider asking for and reviewing:
- Material safety data and fiber content: Confirm the exact fiber makeup and any blends used. This matters for care instructions and performance expectations.
- Weave specifications and loom type: Understanding loom density, weave direction, and edge behavior informs your cutting plans and panel matching.
- Color batch and dye lot information: To ensure consistency, request color charts and dye batch numbers for each shipment. For large runs, aim to keep to a single batch if possible.
- Shrinkage data and finishing descriptions: Documentation on pre-shrinking and finishing processes reduces post-cut surprises and supports accurate pattern grading.
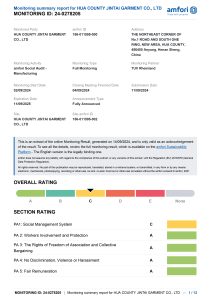
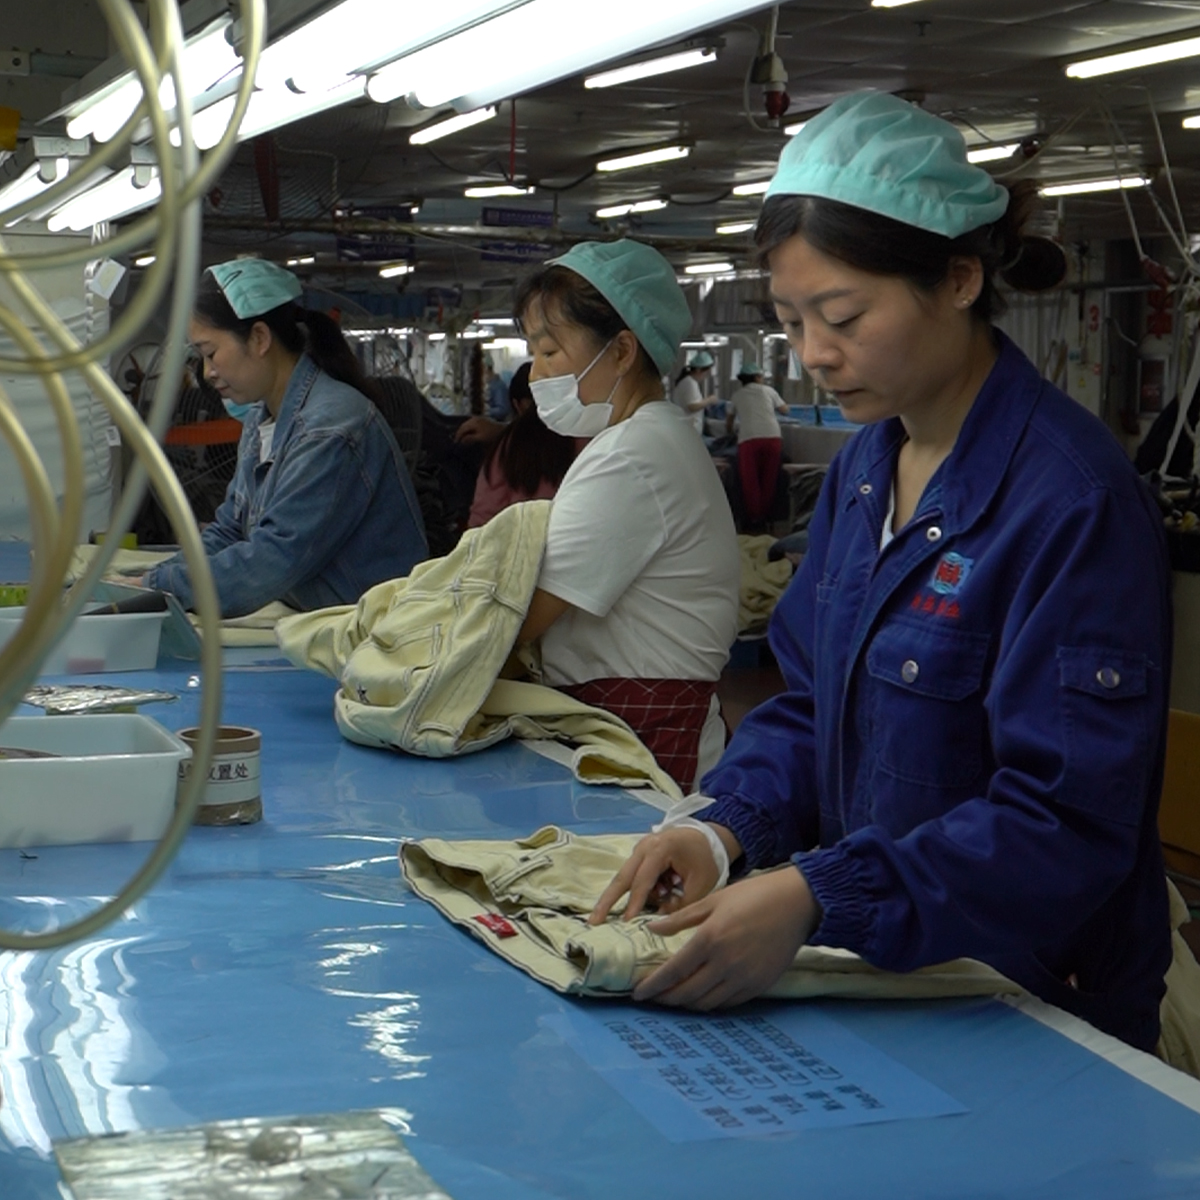
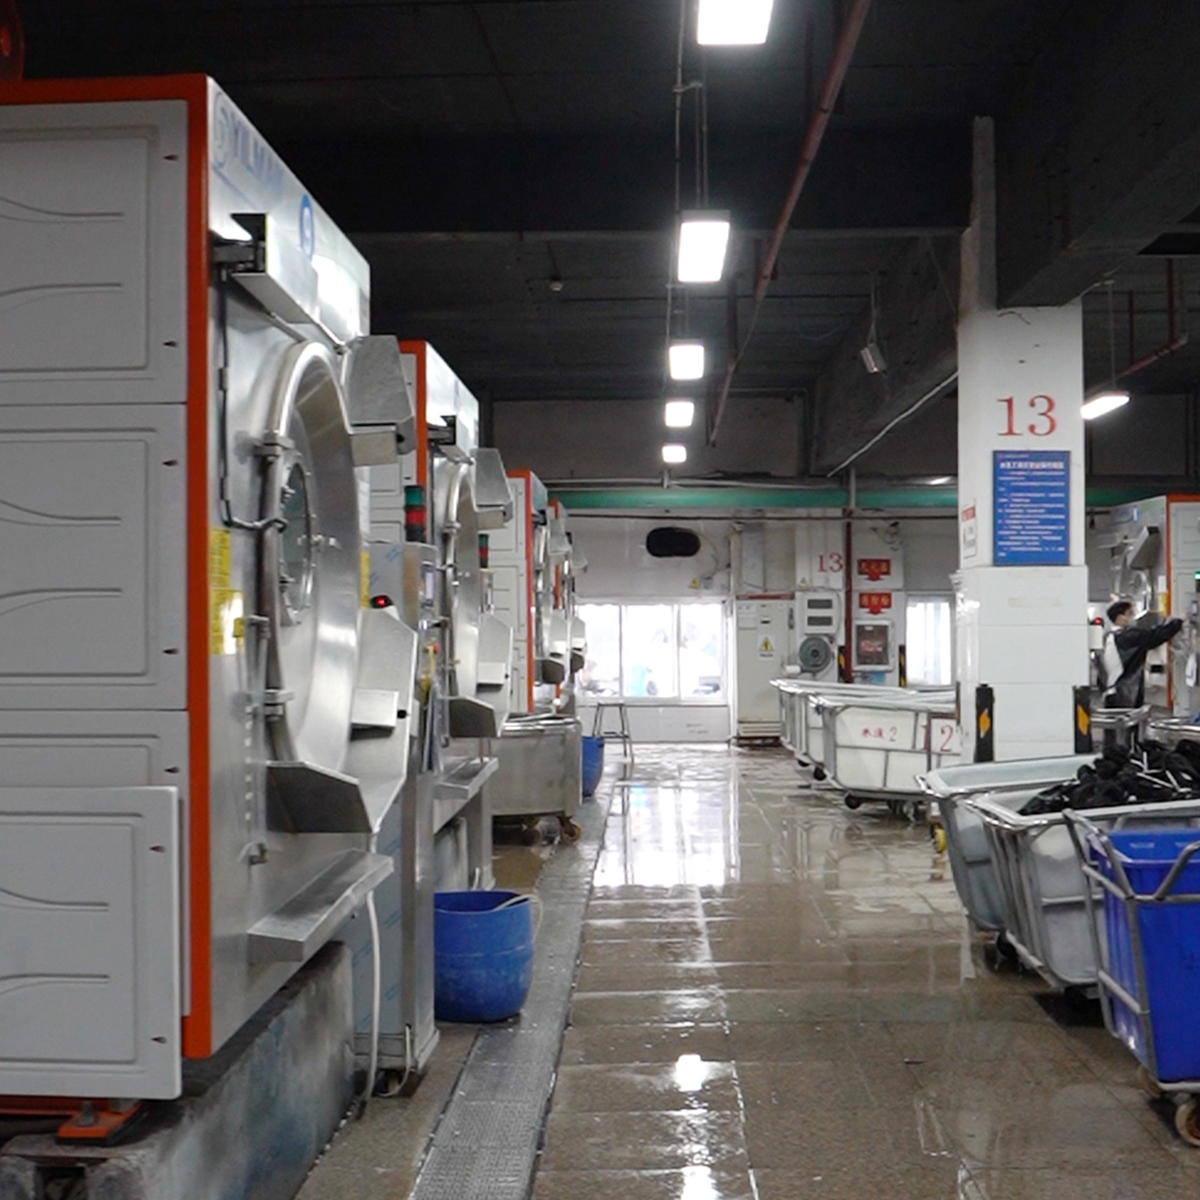
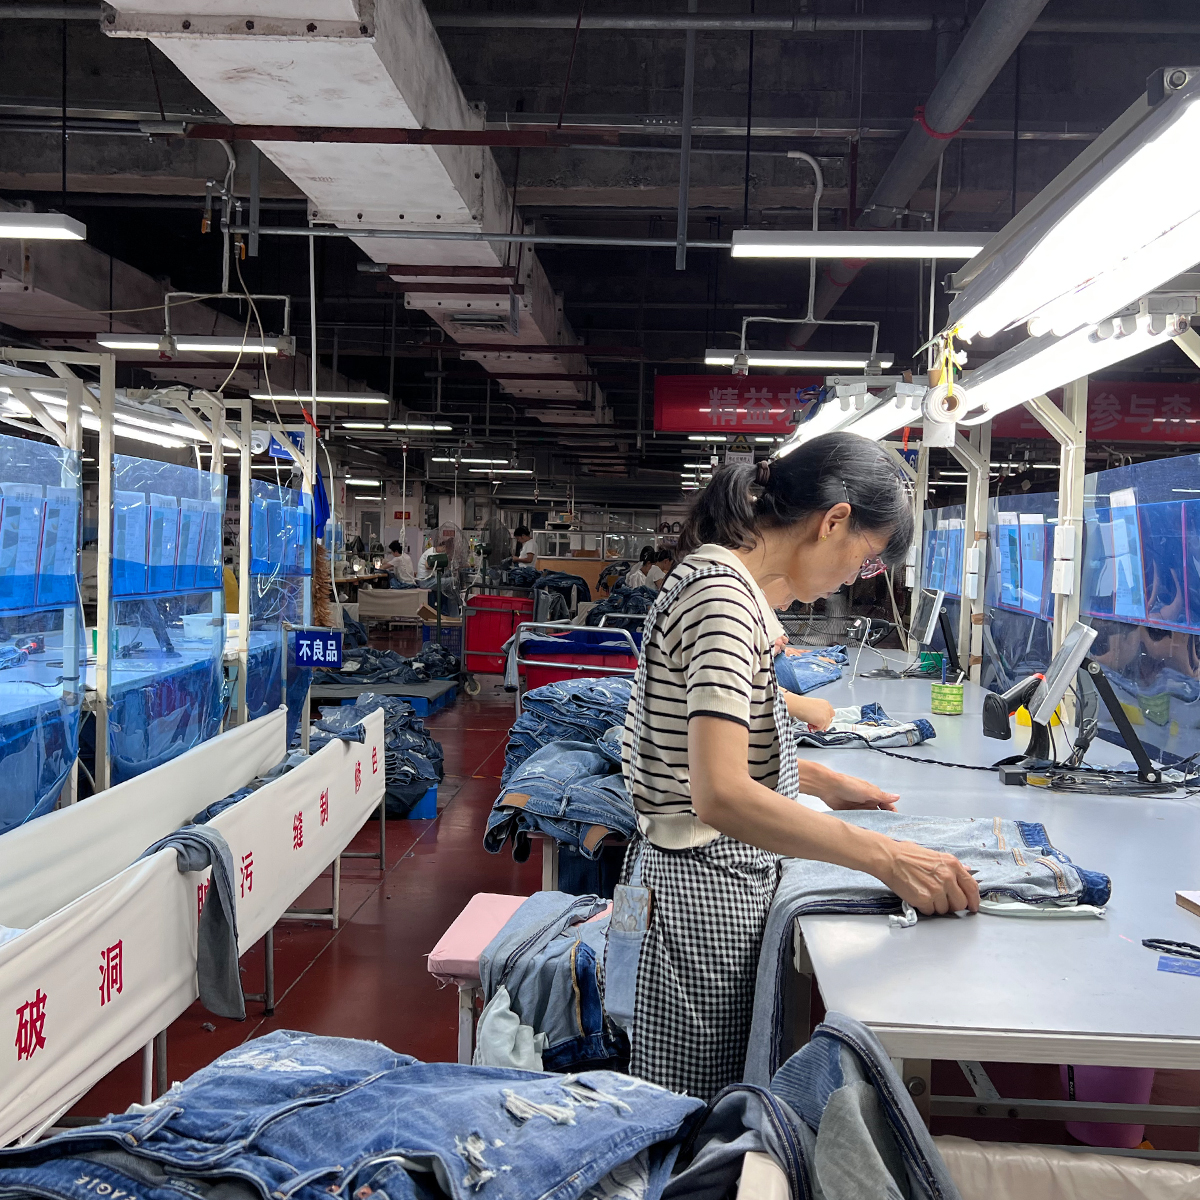
Newasia Garment, with its history in OEM/ODM garment manufacturing and a focus on denim and casual wear, emphasizes the value of partnerships that provide transparent, reproducible fabric specs. If you are aligning with a manufacturing partner, ensure your specification pack includes sample swatches, test results, and a clear plan for QA during production runs. This alignment minimizes rework and fosters consistent quality across all pieces in your collection.
Where to test and how to document
Practical testing can occur in your studio, a local fabric store’s workspace, or within your supplier’s facility if you have access. The key is to create a repeatable process and document it thoroughly. Consider maintaining a simple template that records:
- Fabric name, supplier, lot number
- Weight, finish, and weave details
- Visual notes, hand-feel impressions, and any anomalies
- Results of dye fastness, shrinkage, and friction tests
- Grain alignment observations and any layout considerations
- Recommended cutting plan and pattern adjustments, if needed
A well-maintained test log becomes a decision-making asset. It allows you to compare future shipments against a proven baseline, supporting smoother production cycles and reliable garment outcomes.
Case study: applying quality checks to a denim capsule collection
Consider a small studio planning a capsule collection of three denim pieces: a straight-leg jean, a denim jacket, and a midi skirt. The team purchases three denim lots with similar weights but from different dye lots. They implement the quality checks described above on a common swatch from each lot. They discover:
- Lot A: Tight weave, excellent color uniformity, minimal fade after wash, but a slight stiffness that required pre-wash cycling in the design plan.
- Lot B: Very uniform color, moderate drape, acceptable shrinkage, but minor slubs concentrated in the center panels. The team decides to reserve Lot B for the jacket only, where the texture is less visible in large surface areas.
- Lot C: Uneven color distribution and poor colorfastness in rubbed areas. The team avoids Lot C for the capsule and uses it for internal brand testing or for specialty trims with matched color panels.
By applying a structured testing process before cutting, the team was able to align each garment’s cut plan with the most appropriate fabric, preserving the capsule’s aesthetic while reducing the risk of post-production quality issues. This approach demonstrates how early quality control translates into better design decisions, more efficient cutting, and a stronger consumer experience.
Final thoughts: planning, quality, and precision
Choosing denim with predictable behavior and strong dye stability reduces the risk of waste and rework. A disciplined pre-cut quality check integrates well with pattern making, sampling, and preproduction approvals. The practical checks outlined here—visual inspection, tactile assessment, grain and loom integrity, colorfastness testing, finish and weight considerations, fiber content awareness, and a thorough test plan—create a reliable foundation for any denim project. Whether you’re producing a handful of prototypes or a full-scale collection, prioritizing denim quality before cutting helps ensure fit accuracy, fabric longevity, and a finished look that meets your design intent. In partnership scenarios like OEM/ODM manufacturing with experienced suppliers, a transparent, well-documented fabric specification and testing process is a strategic asset that supports consistency, efficiency, and brand confidence across every production run.
To take this process further, you can pair your on-site checks with supplier QA documentation, fabric certification records, and third-party test reports when available. The goal is to build a reproducible workflow that you can apply to every denim shipment, so your team spends less time resolving fabric issues and more time delivering great garments.