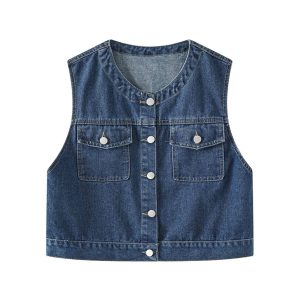

In garment production, fasteners are more than decorative elements. Buttons, rivets, snaps, and similar closures must survive the real-world demands of wear, washing, movement, and rough handling. A reliable pull test protocol is the bridge between design intent and durable performance. This article explores pull testing for buttons and rivets from a practical, production-focused perspective. You’ll find actionable guidance, equipment insights, and real-world considerations that quality teams, product developers, and OEM/ODM manufacturers can apply to raise the reliability of their garments.
Why pull testing matters for buttons and rivets
Pull testing provides objective data about the bond between the fastener and its substrate, the integrity of the sewing thread, and the performance of the fabric around the fastener. The key questions manufacturers ask include:
- What is the minimum force required to detach a button from the fabric under normal use?
- How much load can a rivet withstand before the fabric tears around it or the rivet pulls through the base material?
- Do repeated cycles of flexing and washing degrade the fastener’s grip or the thread network?
- Are there differences in pull strength across fabrics, thread types, or button styles?
Answers to these questions guide material selection, sewing techniques, accessory choice, and even the brand’s value proposition. A robust pull test program reduces post-release returns, protects brand reputation, and supports safer, more durable apparel products.
The core concepts of pull testing for buttons and rivets
At its core, a pull test measures how much force is required to disengage a fastener from the garment in a controlled direction and speed. There are several common measurement targets and modes:
- Button pull strength: Force required to detach a button from the fabric or break the sewing thread. This is often expressed in Newtons (N) or pounds-force (lbf).
- Rivet pull strength: Force needed to pull a rivet from the fabric, or to cause the rivet head to deform or the fabric around the rivet to fail.
- Shank pull and fabric tear: A failure can occur either at the thread, the button shank, the base fabric, or at the seam adjoining the rivet or button area.
- Cyclic durability: Repeated loading cycles simulate long-term use, capturing fatigue-related degradation over time.
For both buttons and rivets, a standardized test method defines the fixture geometry, the direction of pull, the rate of loading, the clamping method for the fabric, and the criteria for pass/fail. In practice, manufacturers often adapt these elements to their production realities while maintaining traceability and repeatability.
What equipment powers reliable pull tests
Two families of equipment dominate the testing landscape: universal testing machines (UTMs) and dedicated pull-test fixtures with force measurement. Here are the essential components and how they fit into a typical test setup:
- Testing machine: A servo-hydraulic or servo-electric universal testing machine provides controlled force, displacement, and speed. For fast, repeatable tests on fabrics and small components, a tabletop UTM with appropriate load capacity (often 5–50 kN) is common.
- Pull fixtures: Fixtures that hold the fabric and the fastener are critical. For button pull tests, you might use a T4 Button Holder or similar device to position the button against the fabric without pre-stressing the thread. For rivets, fixtures that secure the base fabric around the rivet tail are used to prevent fabric slippage.
- Grips and fixtures for fabric: Clamps or pneumatic grips that hold fabric flat without crushing fibers, ensuring the test produces meaningful data rather than fabric damage artifacts.
- Force measurement and data capture: A digital load cell paired with data acquisition software records peak force, displacement, rate, and failure mode. Consistent data collection is essential for cross-batch comparisons.
- Speed control and safety: A test speed that reflects real-life use is important. Typical pull rates range from 50 to 300 mm/min depending on the standard and the fabric. Safety enclosures protect operators from loose components during testing.
In addition, many facilities deploy manufacturing SOPs that document calibration schedules, fixture replacement, and statistical acceptance criteria to ensure the test results are credible across shifts and lines.
Standards and best practices you’ll encounter
While there are several standards across industries and regions, the practical approach is to align with well-established textile and garment testing expectations. This typically includes:
- Defining the test objective: button pull strength, rivet pull strength, or both, with clear pass/fail criteria based on product category and customer requirements.
- Choosing the appropriate fixture set: ensuring the assembly closely mimics actual garment construction, including stitch density and thread type.
- Specifying loading direction and rate: for example, perpendicular pull to the fabric plane, with a rate that approximates how a wearer would apply force during normal use or snagging.
- Documenting failure modes: distinguishing between thread breakage, fabric tear, poached or crushed fabric around the fastener, and rivet head deformation.
- Perpetual improvement: using test results to adjust stitch patterns, thread choices, button styles, and rivet materials to mitigate observed weaknesses.
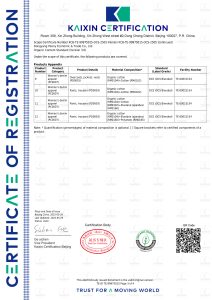
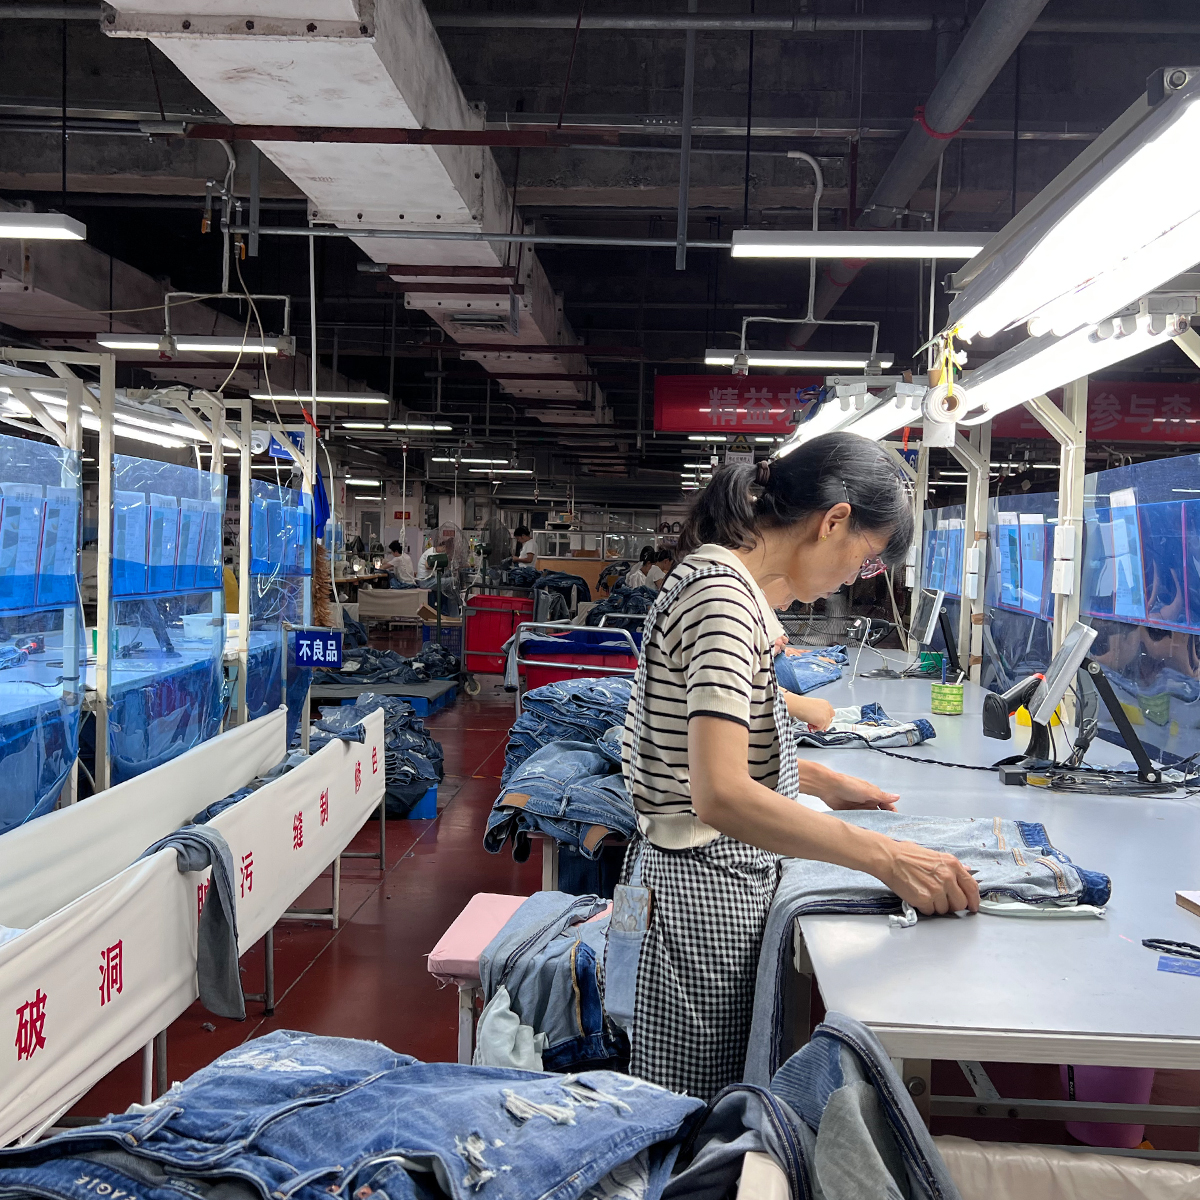
In the context of OEM/ODM garment production, following a structured testing approach also benefits supplier qualification, brand audits, and regulatory or retailer inspection processes. For Newasia Garment and its affiliates, integrating pull testing into the QA pipeline reinforces the reliability of denim, casual pants, jackets, and outerwear that carry the Aevonfashion label and partner brands.
Step-by-step: how to test button pull strength
Below is a practical, production-friendly procedure that can be adapted to many fabrics and button types. The aim is to yield repeatable data while reflecting real-world use. Adjust parameters such as clamp geometry, test speed, and sample size to fit your lab or factory constraints.
- Sample preparation: Prepare garment samples with buttons secured by the same stitching pattern used in production. Include a variety of fabrics and thread colors if you’re benchmarking across lots.
- Fixture setup: Install the T4 Button Holder or a comparable fixture on the UTM. Place the fabric with the button so that the button sits between the fixture’s grip and the fabric, and ensure the button is oriented correctly for the pulling direction.
- Clamp the fabric: Use a fabric clamp or a compliant grip that holds the fabric flat without crushing or distorting it. The objective is to isolate the button–fabric interface rather than confounding the reading with fabric distortion.
- Zero and tare: Zero the force reading with the fixture in the starting position to account for any preload. Record the tare force and begin the test when you’re ready.
- Set the speed: Configure a moderate pull rate, typically between 50–150 mm/min for routine tests, adjusting based on material stiffness and the test standard you’re following.
- Run the test: Start the machine and allow the load to build until the button either detaches from the fabric, the sewing thread fails, or the fabric tears around the button area. Note the peak force prior to failure as the pull strength.
- Record failure mode: Document the exact failure: thread breakage, button detachment, thread hole enlargement, or fabric tearing. Take photos for traceability and future analysis.
- Repeatability and sampling: Test a minimum of 10 samples per button style and fabric type to build a credible distribution. Use identical pre-conditions to minimize variability.
- Data interpretation: Compare peak forces to target specifications. Evaluate the distribution, identify outliers, and investigate root causes for any weak performers.
For rivets, the procedure is conceptually similar but uses rivet-specific fixtures and mounting that replicate the garment’s construction around the rivet. The direction of pull may differ depending on whether you’re testing a cap rivet, a snap, or a decorative rivet. The same principles apply: secure the fabric, ensure the rivet is properly supported, apply controlled load, and capture peak force with a defined failure mode.
Step-by-step: how to test rivet pull strength
- Prepare riveted samples: Assemble garments or fabric panels with rivets in the same configuration used in production. Ensure backing material and rivet size mirror actual use.
- Fixture alignment: Attach a rivet fixture that supports the rivet body without loading the fabric or rivet shank prematurely. The aim is to apply a direct pull on the rivet tail or head depending on the rivet design.
- Fabric support: Use a soft clamp or backing plate to prevent fabric tearing near the rivet before the rivet fails. This yields meaningful rivet pull values.
- Test parameters: Set a pull rate that reflects expected wear patterns—often slower than button tests to simulate gradual loading during daily activity.
- Run and record: Initiate the test and capture peak force and mode of failure. Common outcomes include rivet head deformation, rivet pull-through, or fabric tearing adjacent to the rivet.
- Analysis: Correlate rivet pull strength with thread type, stitch density, and backing material. Investigate if fabric reinforcement or stitch pattern reduces the risk of rivet-induced damage.
When testing both buttons and rivets, you’ll frequently see a correlation between sewing quality, fabric integrity, and fastener performance. A robust test plan accounts for all three to deliver actionable insights for product optimization.
Interpreting results: what strength values tell you
Interpreting pull test results requires context. A peak pull force is only meaningful if you know the expected loading scenario in wear. Here are practical interpretations:
- Above-target results: If the measured pull strength consistently exceeds the target, you may have a margin of safety beyond standard use. Consider whether the extra strength translates into longer service life without unnecessary material cost or stiffness.
- On-target results: When values cluster around a target, you’re achieving the required performance. Ensure this consistency across production lots to avoid batch-to-batch variability.
- Below-target results: This indicates a risk of failure under normal use. Investigate potential root causes: thread slip, button shank fatigue, fabric distortion, knot integrity, or rivet seating.
In failure analyses, you’ll often see repeated patterns—e.g., thread breakage at the secure knot or fabric tearing around a rivet flange. Identifying the dominant failure mode informs process changes, from adjusting stitch type and density to selecting stronger threads or adding fabric reinforcement behind fasteners.
Quality control considerations for production lines
To translate lab results into reliable production outcomes, build a QC plan that integrates pull testing into daily workflows. Consider the following elements:
- Sampling plan: Define how many samples per batch, per shift, and per style will be tested. Use statistically meaningful sample sizes to avoid over-testing while catching variability.
- Calibration and maintenance: Schedule regular calibration of load cells and force-measuring equipment. Maintain fixtures to prevent wear-induced measurement drift.
- Documentation and traceability: Record lot numbers, fabric type, thread, button style, rivet type, machine settings, and operator details for every test run.
- Root cause analysis: When failures occur, perform a structured analysis to determine whether changes in stitch geometry, needle type, or fabric backing would mitigate risk.
- Supplier and brand alignment: Use pull-test data to demonstrate compliance with retailer requirements or brand standards, reinforcing confidence in the supply chain.
For turnkey OEM partners like Newasia Garment, integrating pull tests into the QA framework supports scalable production for denim, jackets, and casual pants while keeping cost in check. The approach ensures consistent performance across thousands of units and multiple seasons.
Practical tips and design considerations
Beyond testing, several design and manufacturing practices can improve pull strength in buttons and rivets:
- Stitch quality matters: Higher stitch density and uniform thread tension reduce vulnerability at the button base and rivet tail.
- Thread selection: Stronger threads or reinforced stitches around fasteners lower the risk of knot slippage or thread breakage.
- Button style and shank design: Buttons with shanks that distribute pull across multiple threads tend to perform better under repeated use.
- Rivet choice and backing: Backing mats or fabric reinforcements behind rivets reduce the likelihood of fabric tearing and provide a stable load path for the rivet.
- Pre-stressing and seam allowances: Proper seam allowances and pre-stressed seams can improve initial pull strength by reducing slack around the fastener.
In practice, teams often run parallel optimization tracks: one focusing on fabric and thread, another on fastener geometry, ensuring that changes in one domain don’t inadvertently degrade another.
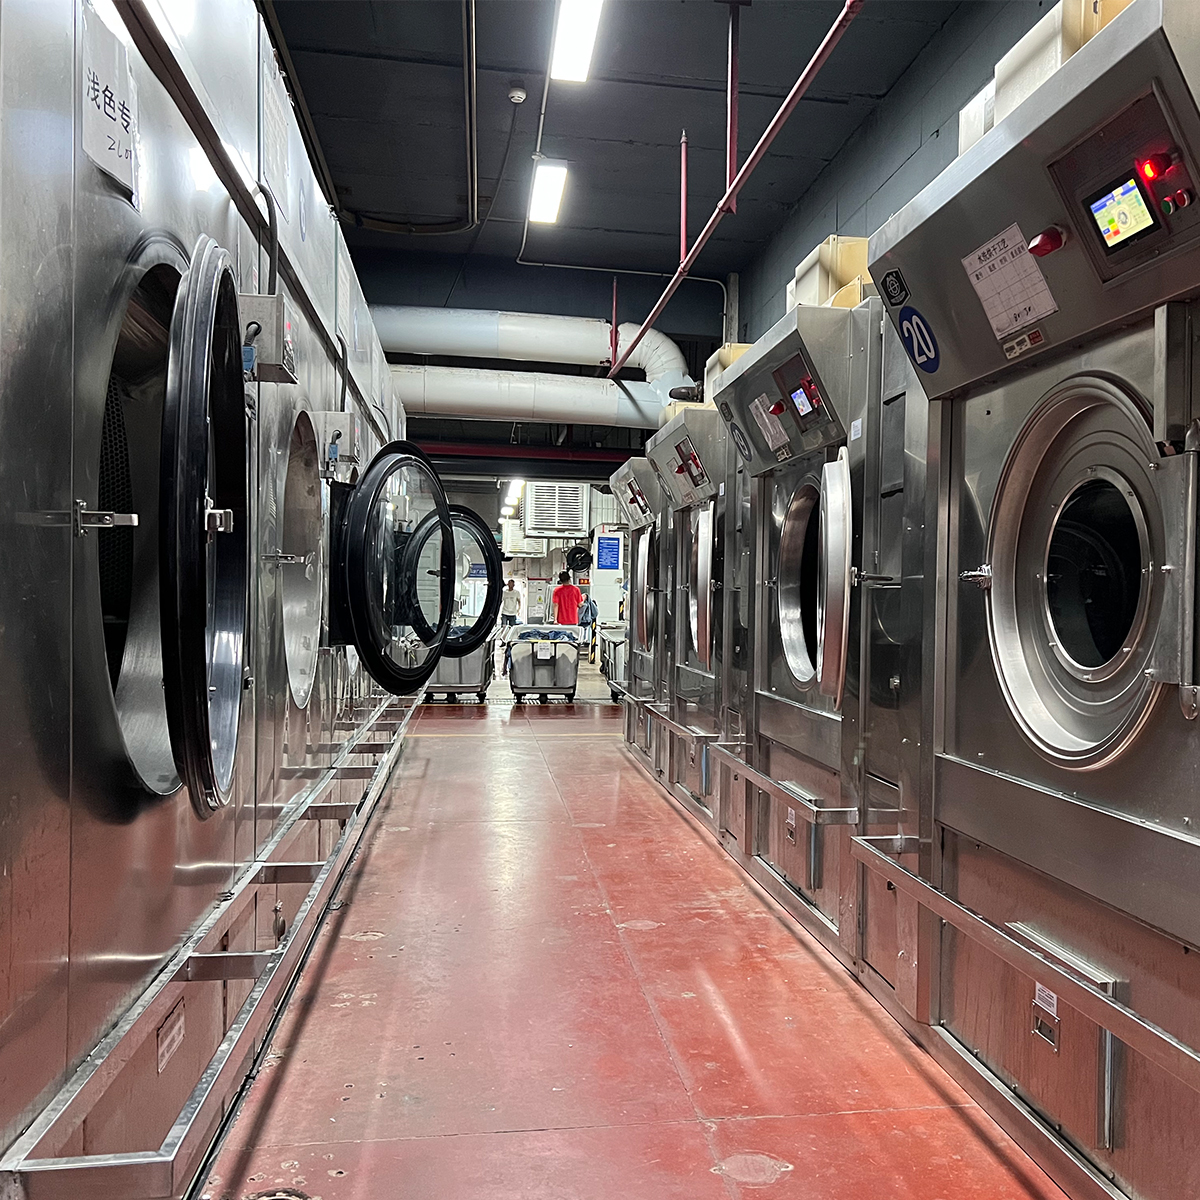
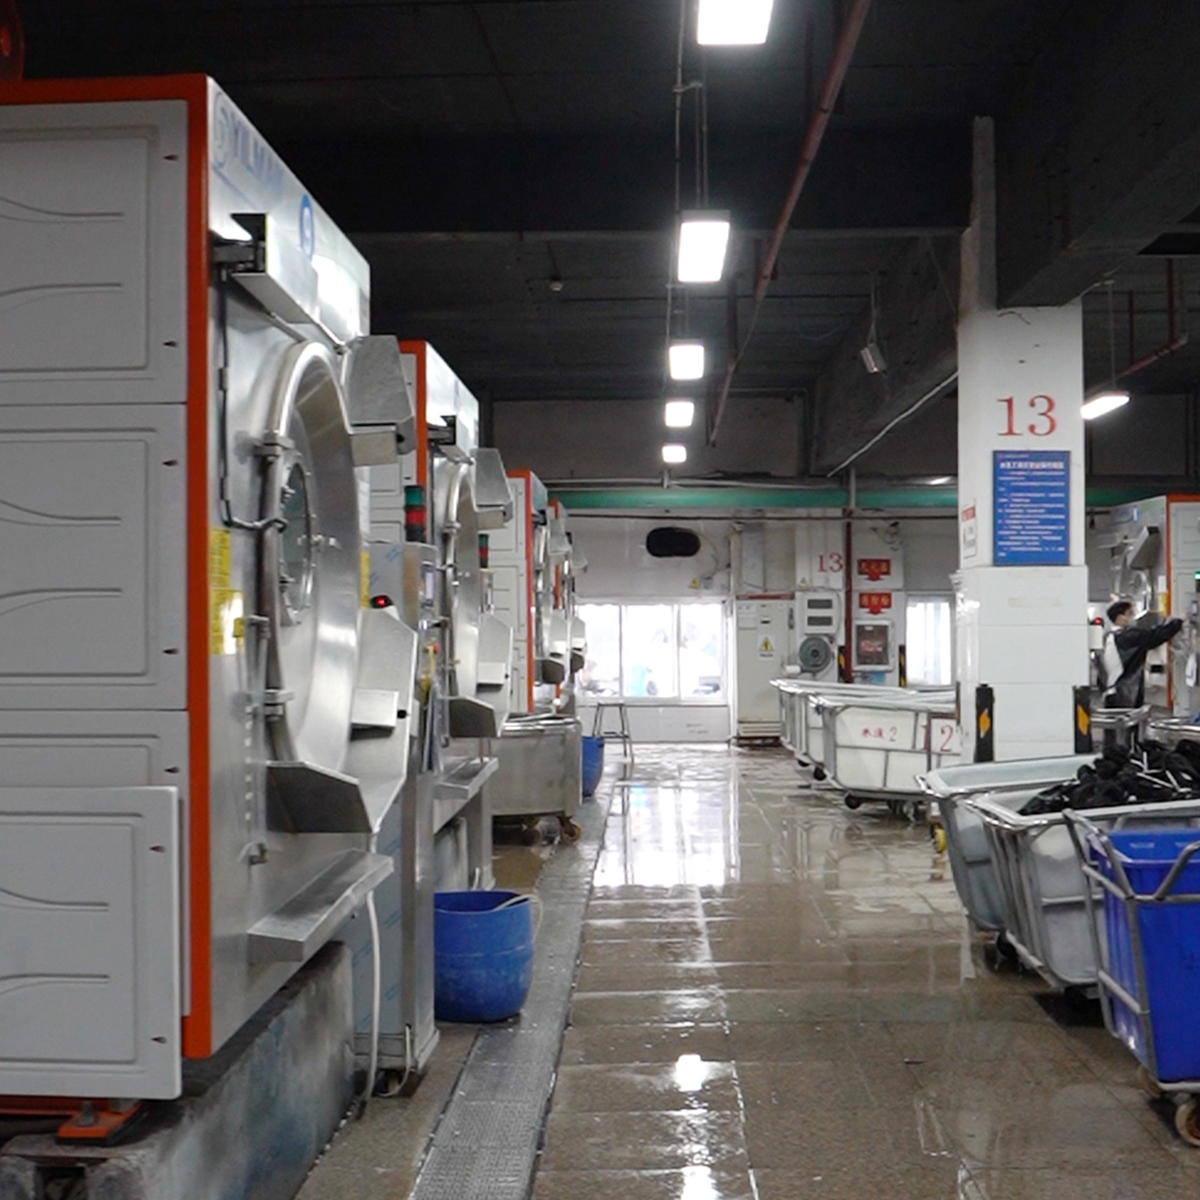
A real-world perspective: Newasia Garment’s approach to fastener testing
As an expert OEM/ODM garment factory with a long heritage, Newasia Garment prioritizes fastener reliability as part of a holistic QA strategy. The company collaborates with global casualwear brands, delivering denim, jackets, and pants that meet stringent durability expectations. In their labs, pull tests for buttons and rivets are integrated into product development cycles from proto to pre-production. Practical benefits include:
- Early detection of potential failure modes during prototype testing, enabling design refinements before tooling and mass production.
- Standardized test methods across lines to ensure consistency, regardless of shift or facility.
- Clear data-driven criteria for supplier qualification, enabling faster approvals or redirects to higher-performing components.
For teams that manage large SKU counts, this approach reduces post-launch returns and strengthens relationships with retailers who require demonstrable performance data. It also fosters a culture of quality where engineers and machinists share a common language around pull strength, failure modes, and corrective actions.
Future-proofing your pull test program
As technology evolves, pull testing is increasingly integrated with digital analytics and inline quality systems. Emerging trends include:
- Inline testing automation: Miniature or rapid-test fixtures placed on production lines validate fastener performance in near real-time, catching outliers early.
- Digital twins for testing: Virtual simulations of fabric, thread, and fastener interactions help predict failure modes without physical testing for every variant.
- AI-assisted analysis: Machine learning models analyze test data to identify patterns, predict future failures, and suggest process adjustments.
Companies investing in these capabilities can shorten development cycles, reduce material waste, and deliver more durable garments at scale. The goal is not just to pass a test but to build robust products that meet evolving consumer demands for longevity and build quality.
Getting started: a practical checklist
- Define target pull strength values for each fastener type and fabric combination based on customer expectations and real-use scenarios.
- Equip with a reliable UTM, appropriate fixtures (buttons, rivets, and fabric holders), and calibrated force measurement systems.
- Develop SOPs that cover sample prep, fixture setup, test speed, sample size, and data recording formats.
- Institute a sampling plan that balances statistical rigor with production efficiency.
- Train operators to identify failure modes and to document observations precisely (with photos when possible).
- Regularly review data to identify trends and opportunities for design or process improvements.
With a structured plan, a garment factory can turn pull testing from a compliance checkbox into a strategic tool that improves product quality, brand trust, and customer satisfaction.
Interested in partnering for high-precision pull testing of buttons and rivets? Newasia Garment offers testing support, fixture customization, and QA programs tailored to denim, jackets, and casual wear. Reach out to learn how we can help you deliver consistently durable garments across batches and seasons.