
Belt loops are small structural features, but they bear a big load. Every time a wearer puts on a belt, tucks a tool belt into pants, or even pulls up a garment, the loop is tested. A weak belt loop can lead to costly returns, damaged fabrics, and disappointed customers. For fashion brands, OEMs, and manufacturers, belt loop strength is not just a detail—it’s a quality parameter that touches fit, function, and overall product integrity. This article unpacks the science and practical steps behind creating belt loops that endure, from design philosophy to stitching methods, material selection, and rigorous QA. Whether you’re producing jeans for a premium label or casual pants for a mass market, the goal is the same: reliable belt loops that stay put under real-world use.
Belt Loop Fundamentals: What Makes a Loop Strong?
At its core, a belt loop is a small fabric or fabric-based strap anchored to the waistband. The strength of a loop depends on three interconnected factors: the loop material, the attachment method, and the stress path it experiences during wear.
- Material integrity: The loop should be cut from fabric that shares the garment’s weight class and fiber characteristics. Denser weaves like twill, canvas, or heavier denim provide more bite and resistance to pulling. If the loop is a separate narrow strip of fabric, it should be cut with clean edges and minimal fray risk. Some brands also use reinforced loops—loops backed with a narrower stay tape or fusible interfacing to prevent stretching over time.
- Attachment quality: The method by which the loop is anchored to the waistband determines its load transfer. The top of the loop is especially stressed because the belt or belt buckle exerts lateral forces that try to slide the loop upward. A strong anchor often uses reinforced stitching, such as a bar tack (a dense cross-stitch pattern) at the top and, in some cases, at the bottom. The stitching should be compact and evenly tensioned to prevent gaps that could loosen over time.
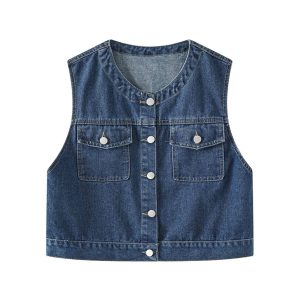
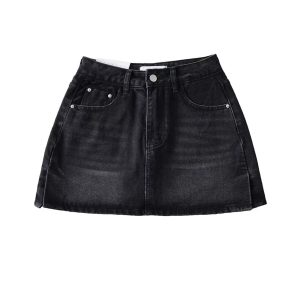
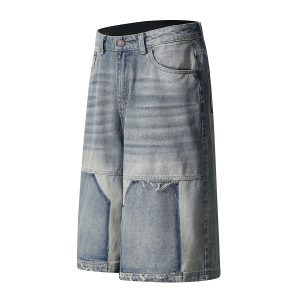
- Stress path and placement: The position of loops along the waistband matters. Loops too close to the edge or too close to one another can create consolidation points that concentrate stress. Conversely, well-spaced loops with symmetrical placement distribute load more evenly, reducing tear risk. The number of loops (commonly five on jeans) should balance function with seam integrity; more loops may require stronger topstitching and reinforcement in the waistband.
Materials and Stitching: The Heartbeat of Belt Loop Durability
The materials and stitching chosen for belt loops set the baseline for durability. Here are best practice guidelines that manufacturers often follow.
- Loop fabric and width: For jeans and trousers, loops typically range from 12 to 20 mm in width, with 16 mm (about 5/8 inch) as a common middle ground. The loop should be cut with clean, finished edges. If the loop is integrated from the garment fabric, ensure the fabric weight and weave won’t sag after repeated wear. If the loop is a separate strap, consider using a slightly stiffer fabric or adding a stay tape to resist stretch.
- Stay tapes and interfacing: Some designs incorporate stay tapes along the waistband or at the loop base to resist stretching. Stay tapes can be woven nylon or polyester tape that runs behind the stitching line, helping the loop resist elongation under load.
- Thread selection and stitching density: For attachment, high-quality bonded polyester threads are a standard choice because they resist abrasion and maintain strength after laundering. Stitch density matters: too sparse, and the loop can pull; too dense, and it may create bulk that irritates the wearer. The top-stitch line around the loop should be neat, with consistent bite into the waistband and loop edge.
- Bartacks and reinforcement: A bar tack at the loop’s top is a proven reinforcement technique. The bar tack concentrates stitching in a small area to resist tearing. Some designers opt for a double or triple bar tack, especially on heavier-weight fabrics or in rugged use scenarios (workwear, outdoor apparel). When used, ensure the bar tack threads align with the garment’s overall stitching and pull test results.
- Edge finishes and fray resistance: The inner loop edge should be sealed or finished to prevent fraying, particularly on lighter-weight fabrics. This can be achieved through overedge finishing or an internal seam finish that doesn’t add visible bulk on the outside.
- Material compatibility: The loop material should be compatible with the waistband, zipper area, and belt. If the belt is stiff or wide, ensure the loops can accommodate without causing wear on the belt or waistband. For some high-stress products, manufacturers consider a rope-stitch or cross-stitch pattern in addition to a bar tack for extra security.
Design note: The choice between a loop made from the same fabric as the garment and a separate reinforced loop depends on the garment’s end-use, cost targets, and desired hand feel. Luxury brands may favor integrated loops with precise stitching, while basic lines may lean toward cost-effective reinforced loops with stay tapes.
Tip: Before committing to a full production run, request a belt loop sample with your chosen fabric, thread, and reinforcement details. Perform a basic pull test that simulates real-use conditions and iterates on any weak points identified in the sample stage.
Design Considerations: Placement, Count, and Real-World Use
Beyond the material and stitch—where and how loops are placed on the waistband can dramatically influence strength and user experience.
- Loop count and symmetry: Five loops on standard jeans is a common baseline, with an extra loop near the center back or sides on some styles to maintain belt alignment when seated or moving. Uniform loop placement reduces localized stress and helps the belt stay in place during activity.
- Spacing and edge distance: Loops should sit a safe distance from the waistband edge to avoid edge tears and from seams that may pivot under load. A modest gap between loops helps distribute tension along the waistband rather than concentrating it on a single point.
- Top attachment geometry: The loop’s upper edge should be anchored with a robust stitch line that remains visible but tidy. A slight forward tilt of the loop edge can help the belt pull more along the loop’s axis rather than shear it sideways, reducing the risk of tearing at the base.
- Wear considerations and lifestyle: For outdoor, workwear, or heavy-use garments, consider thicker waistband fabric, reinforced belt loops, and possibly double-row bar tacks at every loop. In dressier garments, a more elegant finish (clean line, fewer visible reinforcement stitches) may be preferred, but you still need reliable load transfer to prevent loop failure under belt tension.
Style differentiation is common across brands. A premium denim line might emphasize bold top-stitching around loops and reinforced interiors, while a fast-fashion line might optimize for lower cost with strategic stay-tape reinforcement rather than multiple bartacks. Both approaches can achieve strong belt loops if tested and validated during development.
Quality Assurance and Testing: From Lab to Loom
QA is where design intent becomes real-world reliability. There are several layers of testing and inspection that brands and manufacturers typically undertake to ensure belt loop strength.
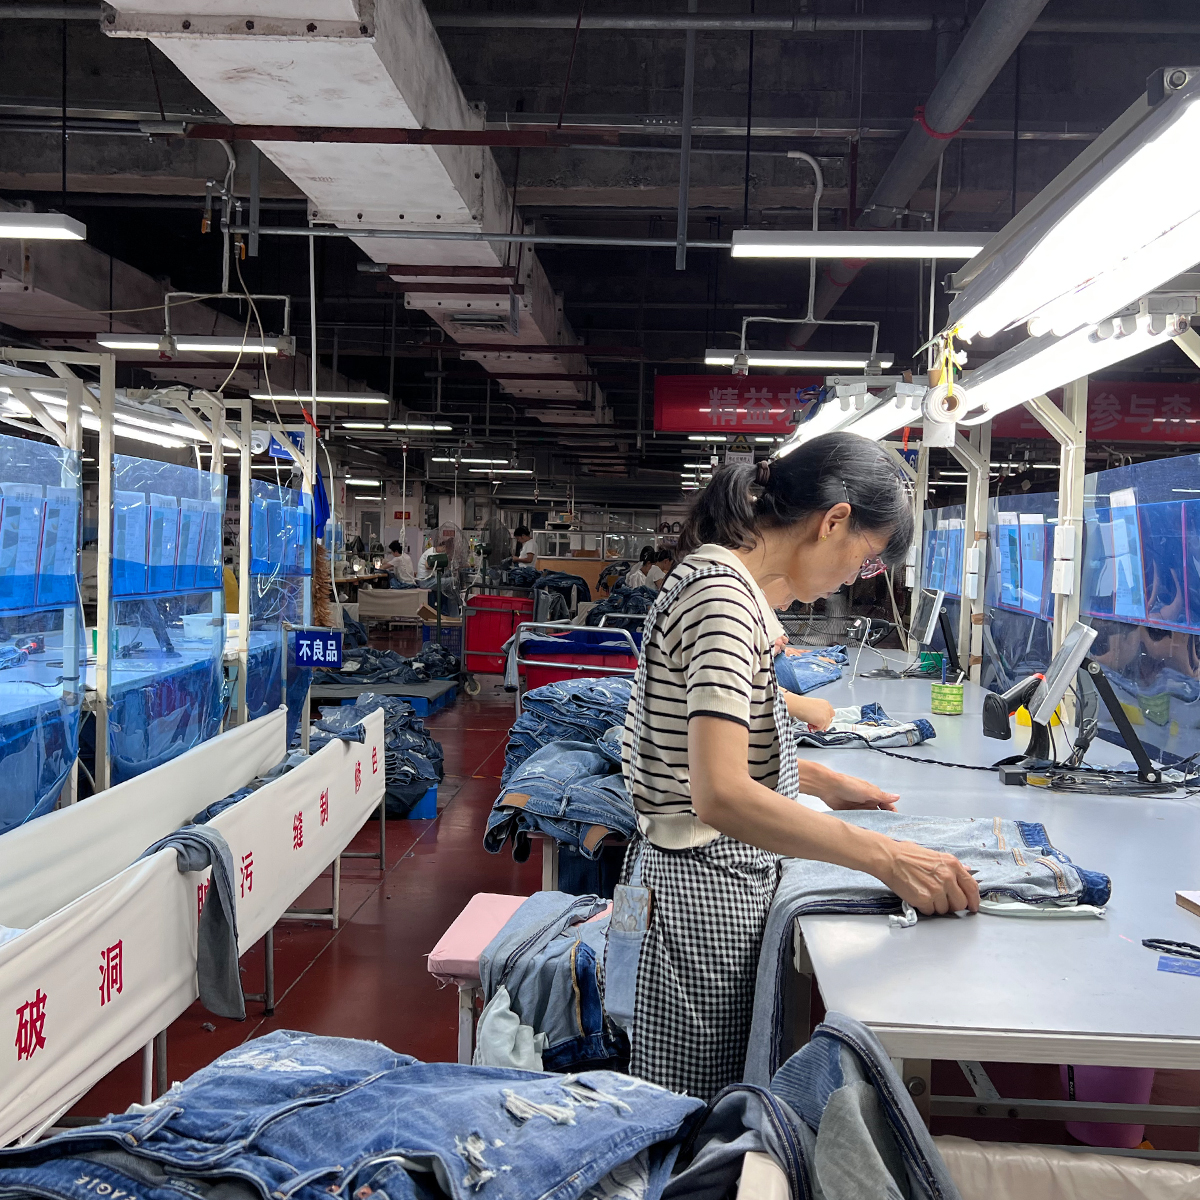
- Visual inspection: At line-side and final inspection, look for uniform stitch density, clean edges, neat bartacks, and no loose threads. Inconsistent tension or skipped stitches around loops is a common early indicator of potential failure.
- Pre-production sampling: Use garment prototypes to assess how loops perform under simulated wear. Have testers tug, twist, and bend the waistband to mimic real use. Document any slippage, fraying, or top edge lifts, and refine the process accordingly.
- Pull or stress testing: A standardized belt loop pull test replicates the load path from belt tension. This test is often conducted in a QA lab by applying a controlled force to the loop edge and measuring the point of failure or unwanted deformation. Results guide design tweaks, stitching patterns, and material choices. Tests should be reproducible across batches to ensure consistency.
- Durability under laundering: Garments go through wash cycles and drying. Assess belt loop integrity after multiple wash-dry cycles to evaluate thread resilience, edge fraying, and the effect of repeated heat and agitation on the loop’s attachment.
- Field testing and feedback: Collect wear-test feedback from real users or brand ambassadors. Complaints about loose loops or belt misalignment often point to overlooked stress points or miscalibrated production parameters that need calibration at the factory.
Quality documentation should accompany every sample and production batch. A belt loop specification sheet—detailing fabric type, loop width, top-stitch pattern, thread type, reinforcement strategy, and placement coordinates—enables consistent replication across size runs and production lines.
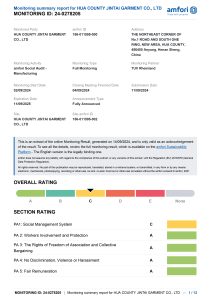
Note on standards: While belt loop testing is often bespoke to a brand, leading garment manufacturers align with internal QA standards and customer requirements. Some facilities adopt generic textile QA frameworks and combine them with garment-specific tests to ensure loop reliability across product lines and markets.
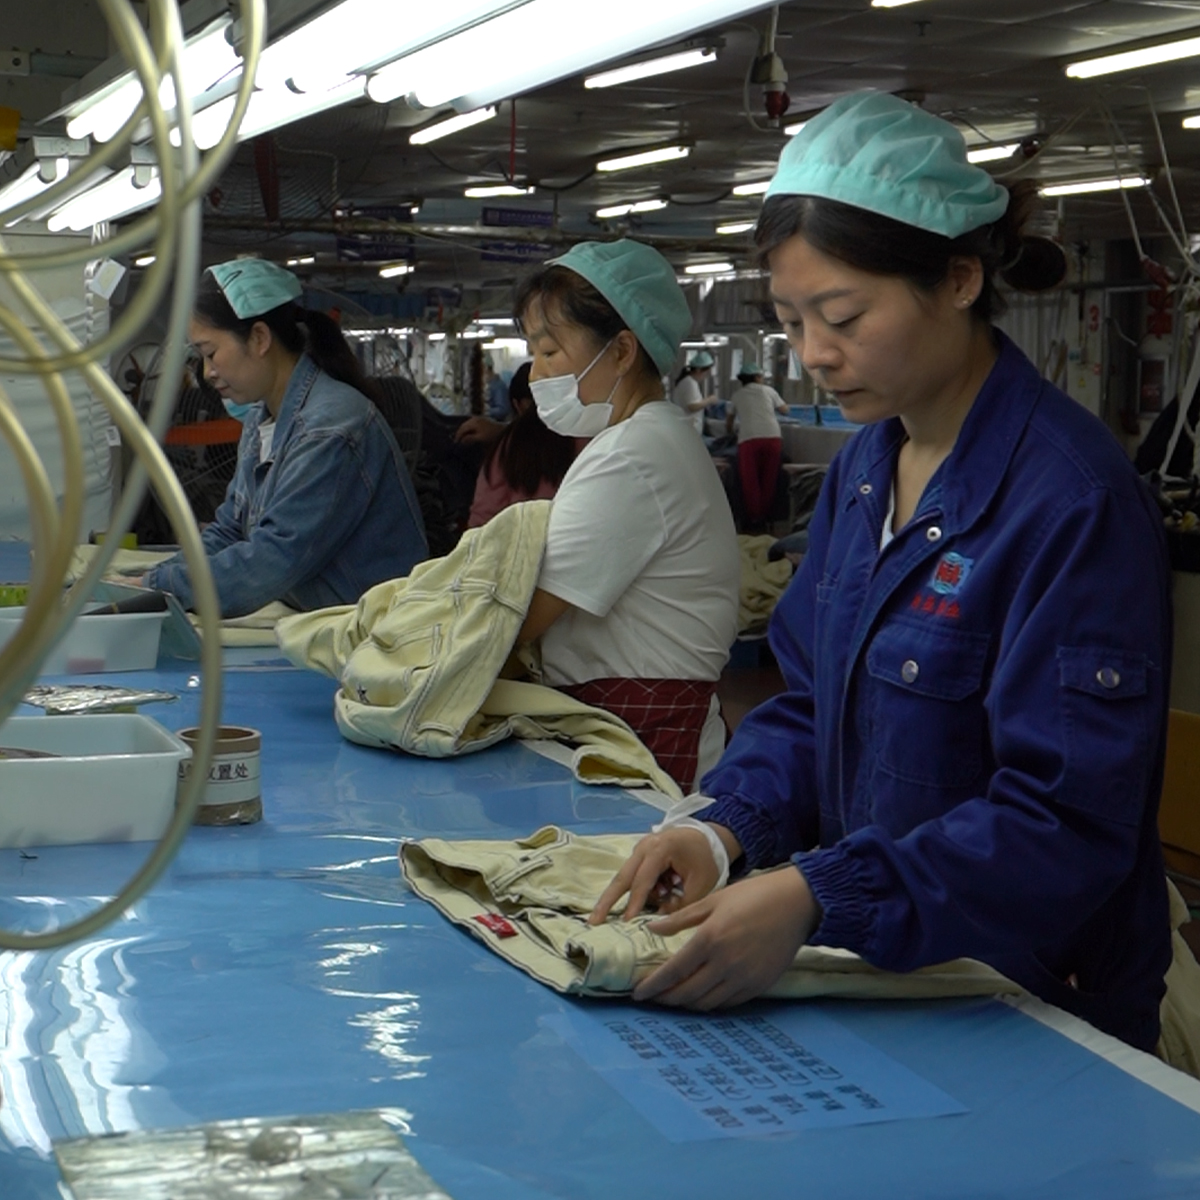
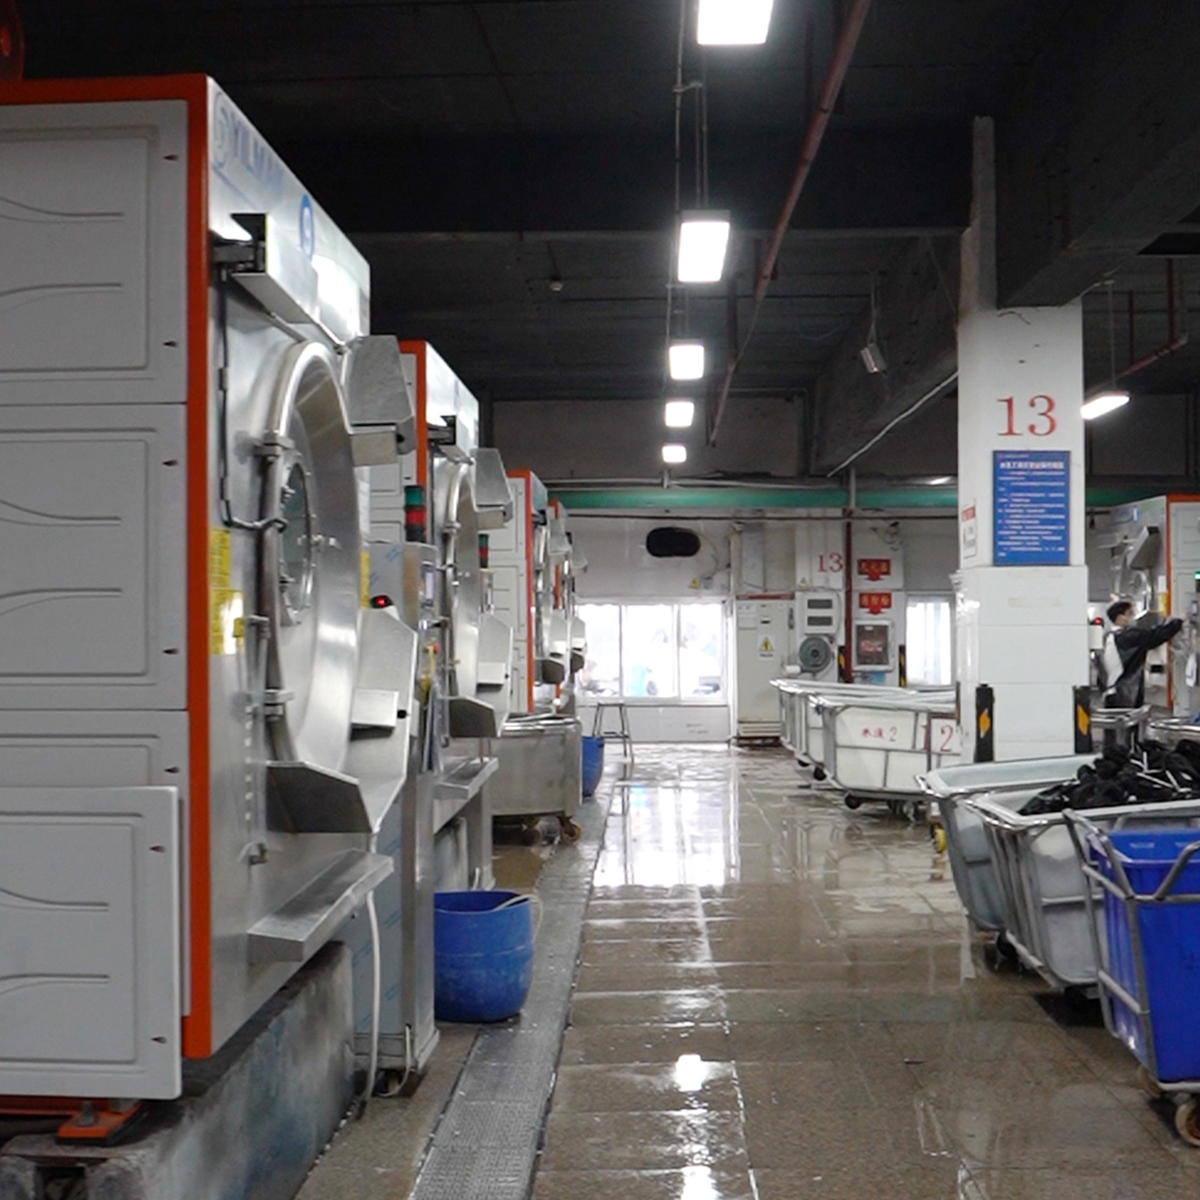
Manufacturing Best Practices at Scale: A Look at an Experienced OEM Partner
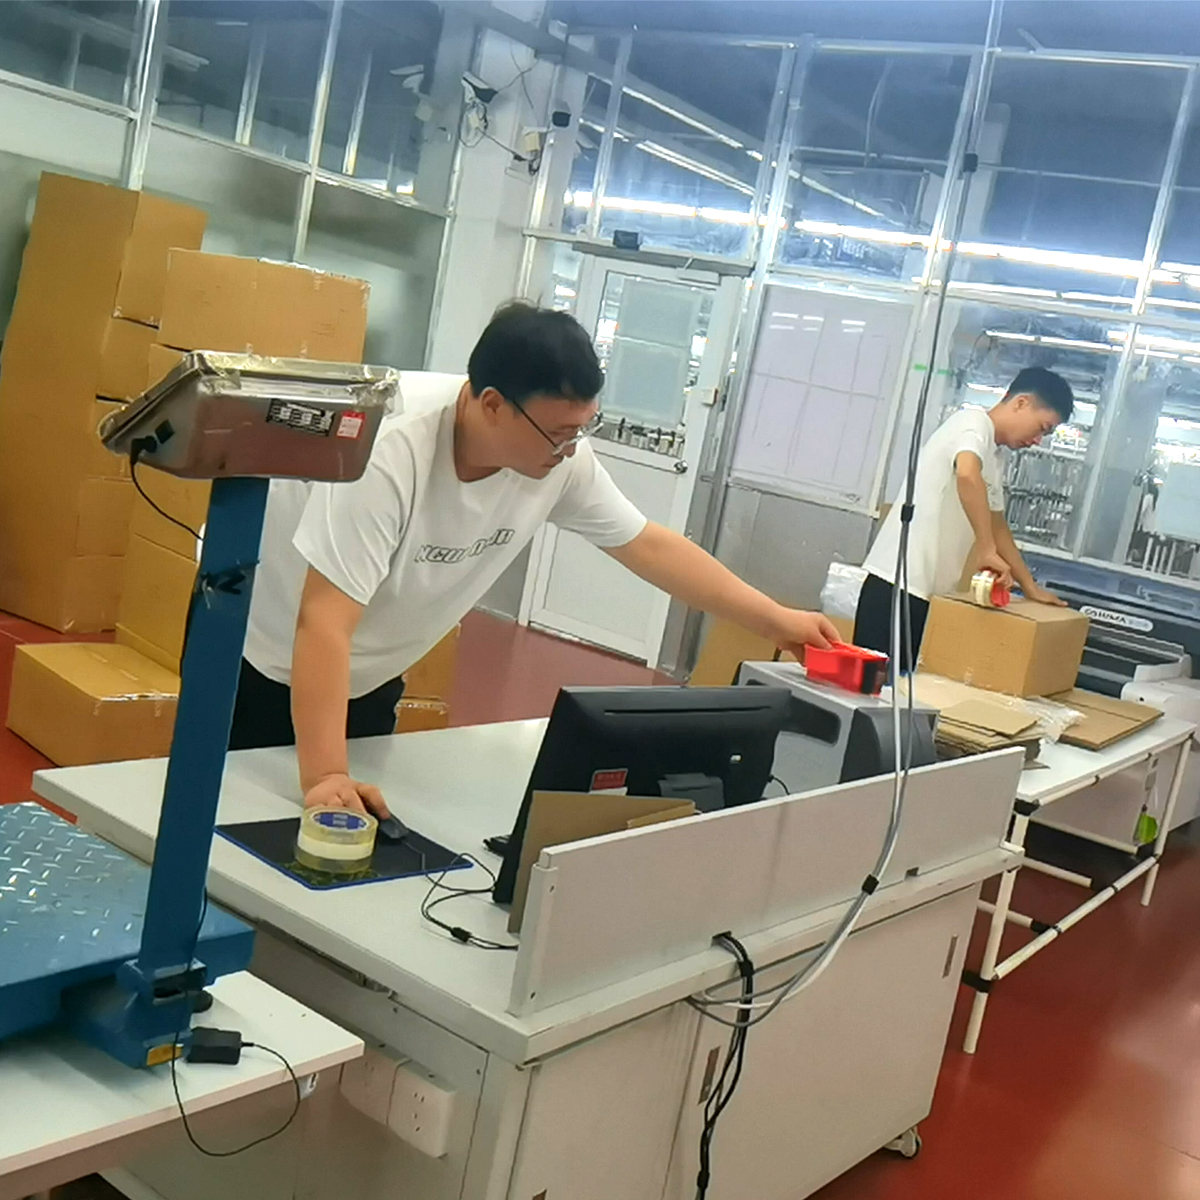
The realities of large-scale production demand repeatable processes, rigorous SOPs, and proactive design-for-manufacturing thinking. A modern garment factory with a long history—such as an experienced OEM/ODM partner—approaches belt loop strength through a blend of engineering, craftsmanship, and data-driven QA.
- Pattern and cutting optimization: Patterns for loops are carefully nested to minimize waste while preserving loop integrity. The cutting process includes edge-finishing checks to prevent fray at critical loop locations.
- Seam stability and stitch quality: Automated sewing should be calibrated for consistent tension at the loop seam. Operators receive clear guidance on needle type, stitch length, and feed rate near the waistband to prevent skipped stitches and seam gaps.
- Reinforcement options by product family: High-stress lines may employ reinforced loops with stay tape, double bartacks, or even an internal gusset behind the waistband for extra load distribution. More premium lines may prioritize seamless aesthetic with hidden reinforcement options.
- Quality gates and traceability: Each batch passes through belt loop-specific checks. Data from these checks—stitch counts, thread variance, reinforcement type—are recorded for traceability. Any deviation triggers a root cause analysis and process adjustment.
- Supplier collaboration: The factory coordinates with fabric suppliers to ensure loop materials meet performance standards, including abrasion resistance and colorfastness, so belts do not prematurely wear loops or leave marks on the loops.
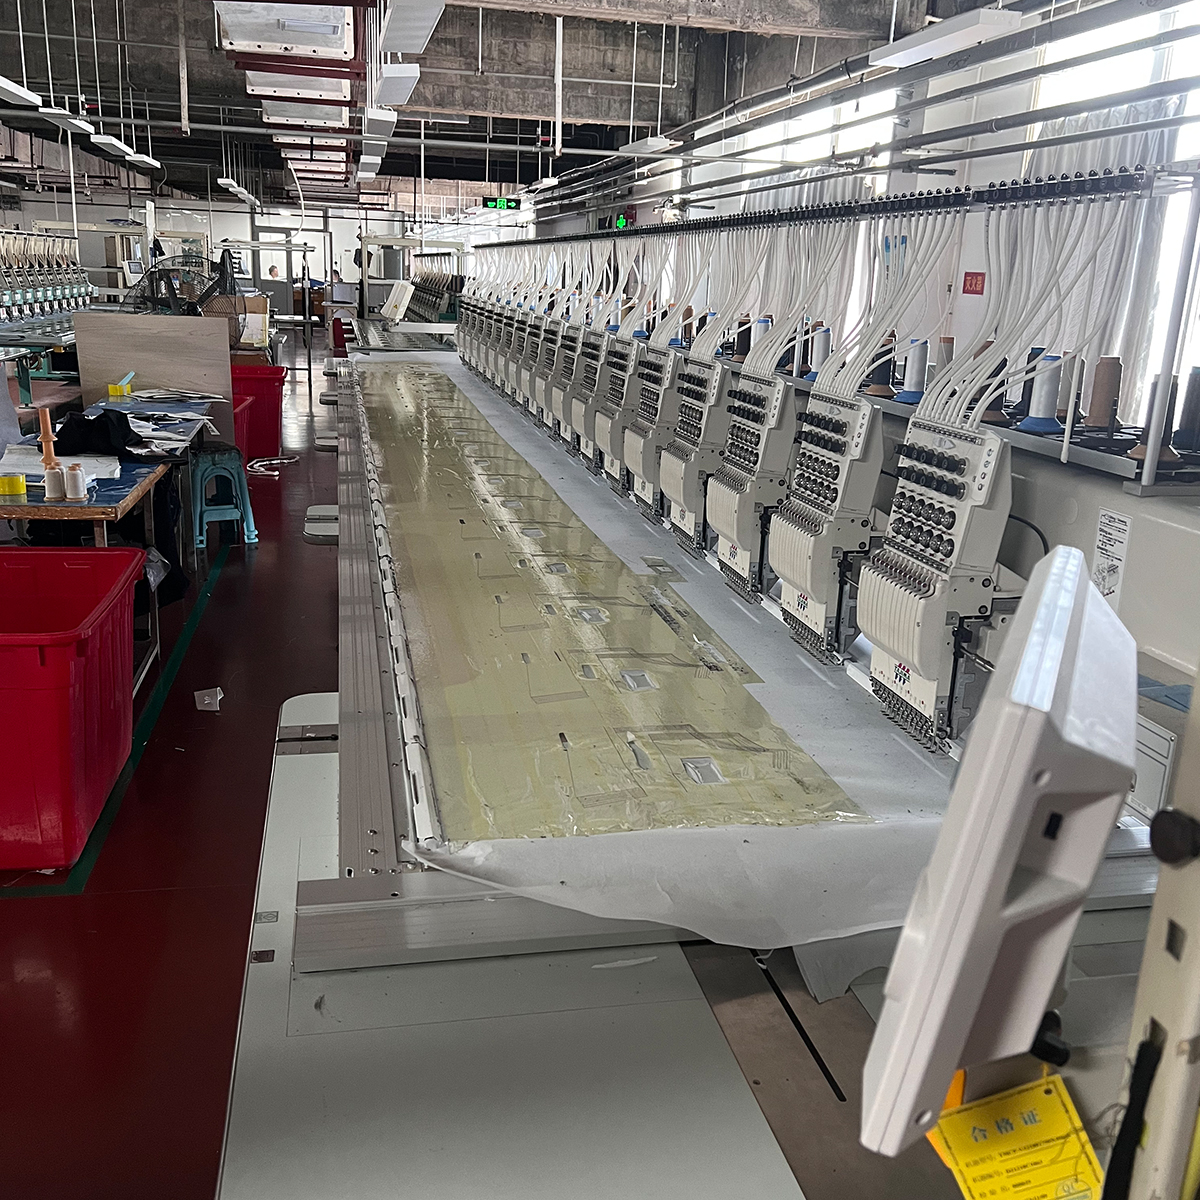
For brands collaborating with a factory like Newasia Garment, the advantage is access to a robust, vertically integrated supply chain. With decades of denim and casualwear production, such partners bring proven solutions for belt loop design, prototyping, and scalable manufacturing, ensuring that each garment line achieves the same high standard of belt-loop reliability across size runs and colorways.
Use this checklist during development and pre-production to keep belt loop strength front and center.
- Define the load scenario: Clarify expected belt types and use cases (everyday wear vs. outdoor workwear) to guide loop width, reinforcement, and placement.
- Choose the reinforcement strategy: Decide on bar tacks, stay tapes, or interfacing based on fabric weight and expected belt tension.
- Standardize thread and stitch: Select a durable thread (bonded polyester or equivalent) and standard stitch patterns for all loops in a product family.
- Set placement rules: Establish distance from waistband edge, loop spacing, and symmetry to distribute stress evenly.
- Establish a pre-production test: Run a belt loop pull test on multiple samples; iterate on design until success criteria are met.
- Incorporate laundering and wear tests: Include belt loop checks after defined wash cycles to verify color, strength, and stability.
- Document every detail: Create a belt loop specification sheet for each garment family, including materials, thread, reinforcement, placement, and testing results.
Belt loops may be small, but they carry the weight of a customer’s experience. By embracing design-for-strength principles, selecting appropriate materials, executing careful stitching, and enforcing rigorous QA, garment producers can deliver products that perform as intended—through countless wears and washes. The ability to translate a simple feature into reliable daily utility is a mark of mature product development and a competitive edge in a crowded market.
For brands seeking a partner who can scale without sacrificing quality, an experienced ODM/OEM like Newasia Garment offers end-to-end capabilities—from concept and prototyping to high-volume manufacturing and global logistics. With decades in denim and casualwear production, they translate belt loop strength into consistent, repeatable outcomes that align with brand standards and consumer expectations.
Final note: If you’re planning a new line or modernization project, start by defining a belt loop specification that reflects your product’s use case, then validate it with real-world wear tests. The payoff is stronger loops, happier customers, and reduced post-sale returns.