
Waistbands are a small detail with a big impact on comfort and confidence. A waistband that is too tight can pinch, dig in, and restrict movement; one that is too loose can cause constant sliding, gaping at the back, and a generally unflattering silhouette. Whether you are working with denim, chinos, or stretch fabrics, understanding the root causes of waistband problems and the options to fix them can save time, money, and a lot of frustration. In this guide, you’ll find practical, tested methods to address tightness, looseness, and sagging, with step-by-step instructions, material-specific tips, and practical maintenance strategies.
Understanding the Waistband Problem: Tight, Loose, or Sagging
Before you reach for needles, thread, or a steam iron, take a moment to diagnose the issue. Three common scenarios appear most often and each has a slightly different remedy.
- Tight waistband: The waistband feels constricting around the midsection, often due to fabric shrinkage after washing, the garment’s design, or a change in body measurements. In some cases, the fabric has less stretch than expected, or the original fit was intentionally snug.
- Loose waistband or gapping in the back: The waistband sits too low or slides down, leaving a gap at the back or sides. This is common in garments with a non-stretch waistband or when the wearer’s hips and waist differ from the original model’s sizing.
- Sagging or stretched waistband over time: The elastic or fabric loses its elasticity, especially after repeated wear and washing, resulting in a waistband that won’t hold its shape.
Knowing which category you’re dealing with helps you pick the most appropriate fix. It’s also important to consider fabric type. Denim behaves differently from lightweight twill or stretch fabrics, and non-stretch waistbands require different treatment than elastic-backed designs.
Quick Fixes You Can Try Tonight
These are practical, low-commitment methods you can try to gain immediate relief or temporary comfort while you plan a longer-term alteration. They don’t require a tailor and can be done at home with common tools.
Dampen the waistband with a steamer or a damp cloth and apply gentle heat. Slight stretching around the area can relax the fabric fibers enough to relieve pressure. Use gloves or a towel to protect your hands, and repeat as needed, then let the garment dry flat. While the fabric is damp, wear the garment for a few minutes to shape the waistband to your natural curve, then lay it flat until completely dry. This is especially effective for cotton blends and denim with some natural stretch. A ready-made waist extender or a thin strip of clear elastic can be inserted at the back of the waistband to restore fullness without altering the garment’s appearance. This can be a reversible option if you do not want to alter the original construction. For a gapping back, you can temporarily cinch the side seams with a pin at the back or use a small, removable stitch for a night out. This is not a permanent fix, but it can help with fit for specific occasions. A stylish belt or a clip-in accessory can help keep a loose waistband in place without altering the garment’s construction. This is suitable when you want a quick styling solution and are not ready for alterations.
These quick fixes are helpful, but they do not address the root causes. If the problem persists after a few wear-and-wash cycles, it’s time to consider more durable, lasting alterations.
Permanent Fixes: When a Tailor or DIY Alteration Is Needed
A permanent fix restores the original silhouette or improves fit for extended use. The method you choose depends on the fabric, construction, and your goals (e.g., keep original waistband, add stretch, or replace the waistband entirely).
Loosening a tight waistband on non-stretch fabric
For garments with a non-stretch waistband (like traditional denim or wool trousers), you can often gain extra room by releasing the side seams and the back seam of the waistband. This approach requires care to maintain garment shape and avoid distortion.
- Turn the garment inside out and mark the seam allowances you’ll work with. A ruler and tailor chalk help you visualize the necessary room.
- Carefully seam-rip along the side seams of the waistband, stopping at the edge of the zipper or closure. Do not cut the fabric; simply open the seam enough to release fabric around the waist.
- Gently press and re-sew a slightly extended seam allowance, creating a bit more space. If the waistband width changes, re-attach any facing or lining with matching thread.
- Check the fit by trying on the garment. If more room is needed, repeat in smaller increments. Avoid over-stretching, which can distort the waistband or affect the garment’s silhouette.
Note: This method works best when there is extra fabric at the side seams or when the waistband is anchored to a comfortable interior structure. For some garments, additional adjustments to the seat or hip area may be necessary to maintain balance.
Inserting an elastic panel at the back (stretch panel upgrade)
Adding a stretch panel behind the waistband is a widely used, durable solution to regain comfort without changing the garment’s outer appearance. It’s particularly effective for jeans, chinos, and casual pants that develop a sagging back waistband over time.
- Choose an elastic that matches the garment weight (a narrow, flat elastic with moderate stretch works well for most fabrics).
- Carefully open the back seam of the waistband or the belt-loop area, depending on your garment’s construction. Do not damage pockets or internal linings.
- Cut a strip of elastic to the desired length. The length should be slightly shorter than the waistband measurement at the back, ensuring a snug but comfortable hold.
- Sew the elastic to the inside of the waistband’s back edge, creating a channel. You can stitch directly to the fabric or insert the elastic through a narrow seam allowance, securing both ends.
- Close the back seam and finish with a clean topstitch along the waistband. Try on the garment and adjust tension if needed.
This approach preserves the garment’s external look while restoring fit. It’s a reversible, repair-friendly option that can be undone if you decide to revert to the original design.
Goring or inserting a hidden stretch panel (gusset approach)
For a more flexible approach, especially in high-m-frill fashion or active denim, consider adding a hidden stretch panel (a small fabric gusset) inside the waistband area. This creates expansion without changing the exterior silhouette.
- Cut a gusset from a fabric that matches or blends with the garment’s interior. The gusset should be roughly the width of the waistband seam allowance and long enough to cover the desired stretch area.
- Open the waistband seam and lay the gusset inside, aligning edges evenly with the back and side seams.
- Sew the gusset in place with a zigzag or stretch stitch to allow for movement. Ensure the edges are finished to prevent fraying.
- Reinforce the waistband with a topstitch to maintain shape. Check the fit by wearing and adjusting if necessary.
Gussets are particularly useful when you want to preserve the garment’s original look while increasing comfort during movement, sitting, or bending.
Replacing or remaking the waistband on heavy fabrics
When the waistband has stretched significantly or sits awkwardly after multiple episodes of washing, replacing the waistband or remaking it may be the best long-term solution. This is more involved but can yield a like-new fit.
- Carefully remove the existing waistband from the garment, keeping track of the original seam lines and any interfacing or lining that contribute to structure.
- Source a new waistband that matches the garment’s weight and finish. If you are reusing fabric, cut the new waistband with the same width and length as the original, adding a bit of extra seam allowance for adjustments.
- Construct the new waistband, including any necessary interfacing or stabilizers that were originally in place. If the old waistband had topstitching or belt loops, transfer these details to the new version.
- Sew the new waistband back onto the garment, ensuring proper alignment with side seams and the zipper. Press and finish with a clean edge and appropriate seam finishes.
Replacing a waistband is the most reliable repair for garments that have endured substantial wear, especially those with non-stretch fabric, where other corrections may fail to hold after repeated laundering.
Materials, Tools, and Safety
Having the right tools makes the difference between a professional finish and a rushed repair. Here’s a quick checklist:
- Sewing machine with zigzag or stretch stitch capability
- Sharp fabric scissors and a thread snips
- Seam ripper, chalk or fabric marker, and measuring tape
- Elastic for back inserts (matching width and weight)
- Pins or clips, pressing iron and ironing board, and a tailor’s ham for curved seams
- Matching or sturdy thread (polyester or cotton-poly blends work well)
- Interfacing or stabilizers if the garment requires extra structure
Safety note: When using steam or heat, always test on a small inconspicuous area first to avoid scorching delicate fabrics. If you are unsure about fabric behavior, start with temporary fixes and progress to permanent alterations as you gain confidence.
Step-by-Step Guides: Practical, Actionable Instructions
The following guides are designed to be actionable for home sewers or professionals who want a repeatable process for common waistband issues. Each guide includes materials, steps, and troubleshooting tips.
Guide A: Loosening a tight waistband on denim or heavy casual pants
- Assess how much room you need. Mark the desired new waist measurement on the inside with chalk.
- Open the side seams just enough to access the waistband seam allowances. Do not open more than necessary.
- Ease the fabric along the side seams by pinching and gently stretching, then re-sew the side seams with a slightly larger seam allowance (e.g., 1/4 inch or 6 mm).
- Reinforce the back with a small amount of topstitching to maintain shape. Press the area flat and test the fit again.
- If more room is needed, repeat the process carefully in small increments. Avoid over-expanding the entire waist, which can throw off balance and appearance.
Guide B: Adding an elastic back insert to restore comfort
- Choose elastic that matches the garment’s weight. Cut a piece that will fit along the back waistband and provide gentle tension.
- Open the back seam, insert the elastic near the inner layer, and stitch it in place with a stretch stitch. Make sure the elastic ends are secure.
- Close the seam and finish the waistband to maintain a clean interior appearance.
- Try the garment on. If it feels tight, loosen the elastic slightly or adjust the seam placement to balance comfort and structure.
Guide C: Replacing a waistband on a non-stretch fabric
- Remove the old waistband carefully and measure the waistband perimeter to determine the new size.
- Cut a new waistband from matching weight fabric with an appropriate amount of seam allowance and, if necessary, a piece of interfacing for structure.
- Attach the new waistband to the garment, matching centers and side seams. Finish the edges with topstitching or a clean seam finish.
- Press well and check for evenness around the waist. Make minor adjustments as required for a balanced look.
Preventive Care and Maintenance
Prevention is often easier than repair. Implement these practices to extend the life of your waistband and maintain a consistent fit over time:
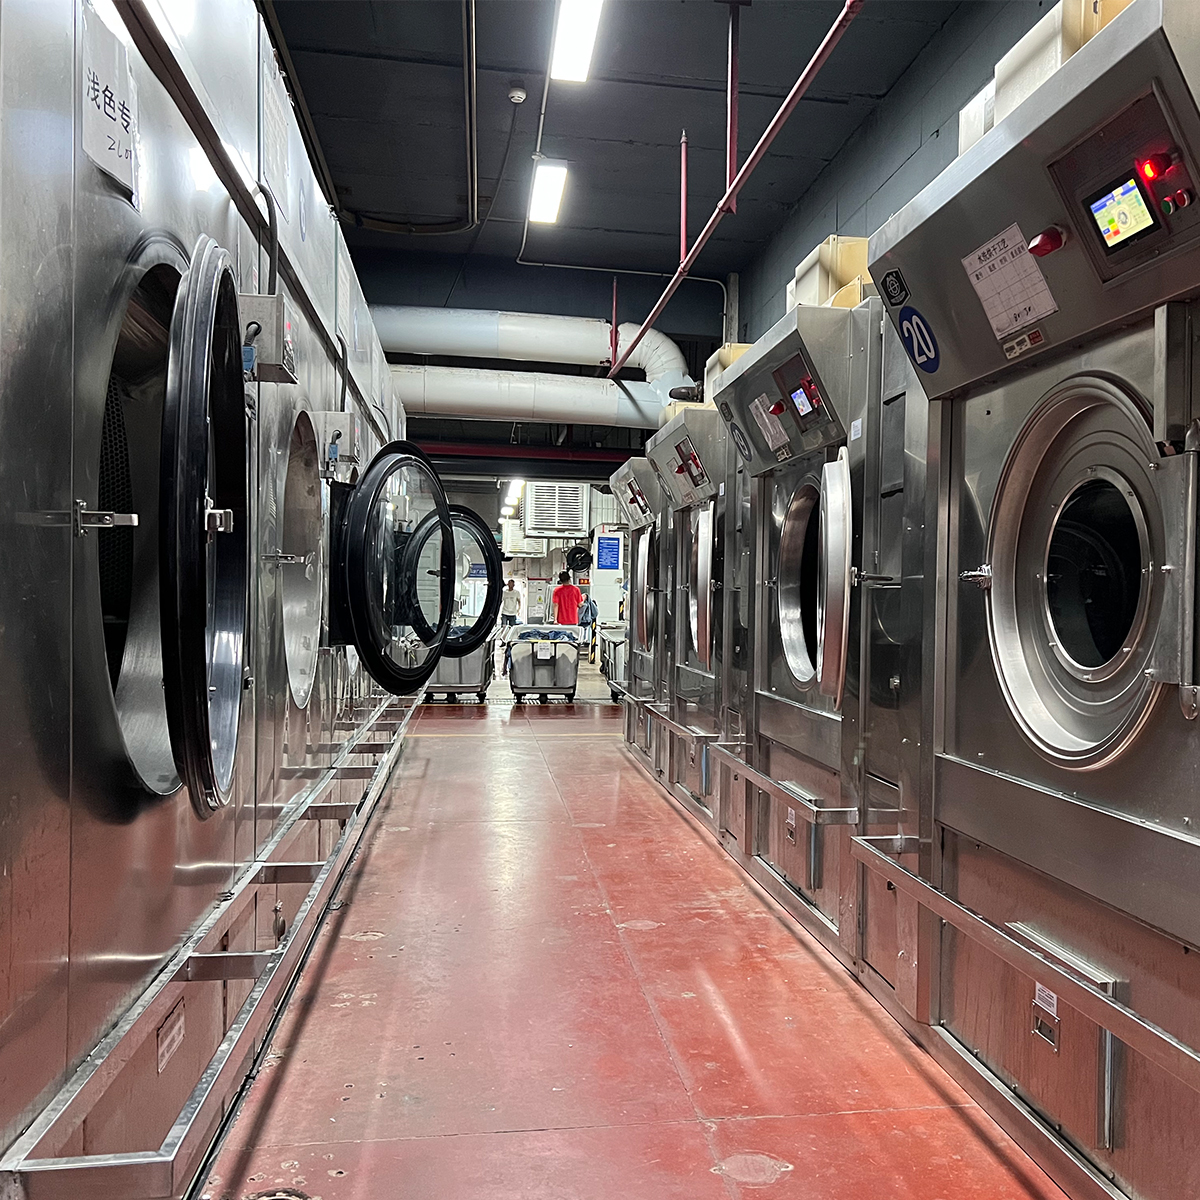
- Wash garments according to fabric care instructions to minimize shrinkage and fiber fatigue.
- Avoid high-heat drying on fabrics prone to static or shrinkage; instead, air dry or use low heat if the fabric allows.
- Store pants on hangers to prevent warping of the waistband and belt loops. If you fold, ensure the fold does not press into the waistband edge.
- Periodically inspect elastic and seams. Replace worn elastic early to prevent a sudden loss of support.
- Consider pre-washing or pre-shrinking new garments from brands with known fit characteristics to reduce surprises after the first wear.
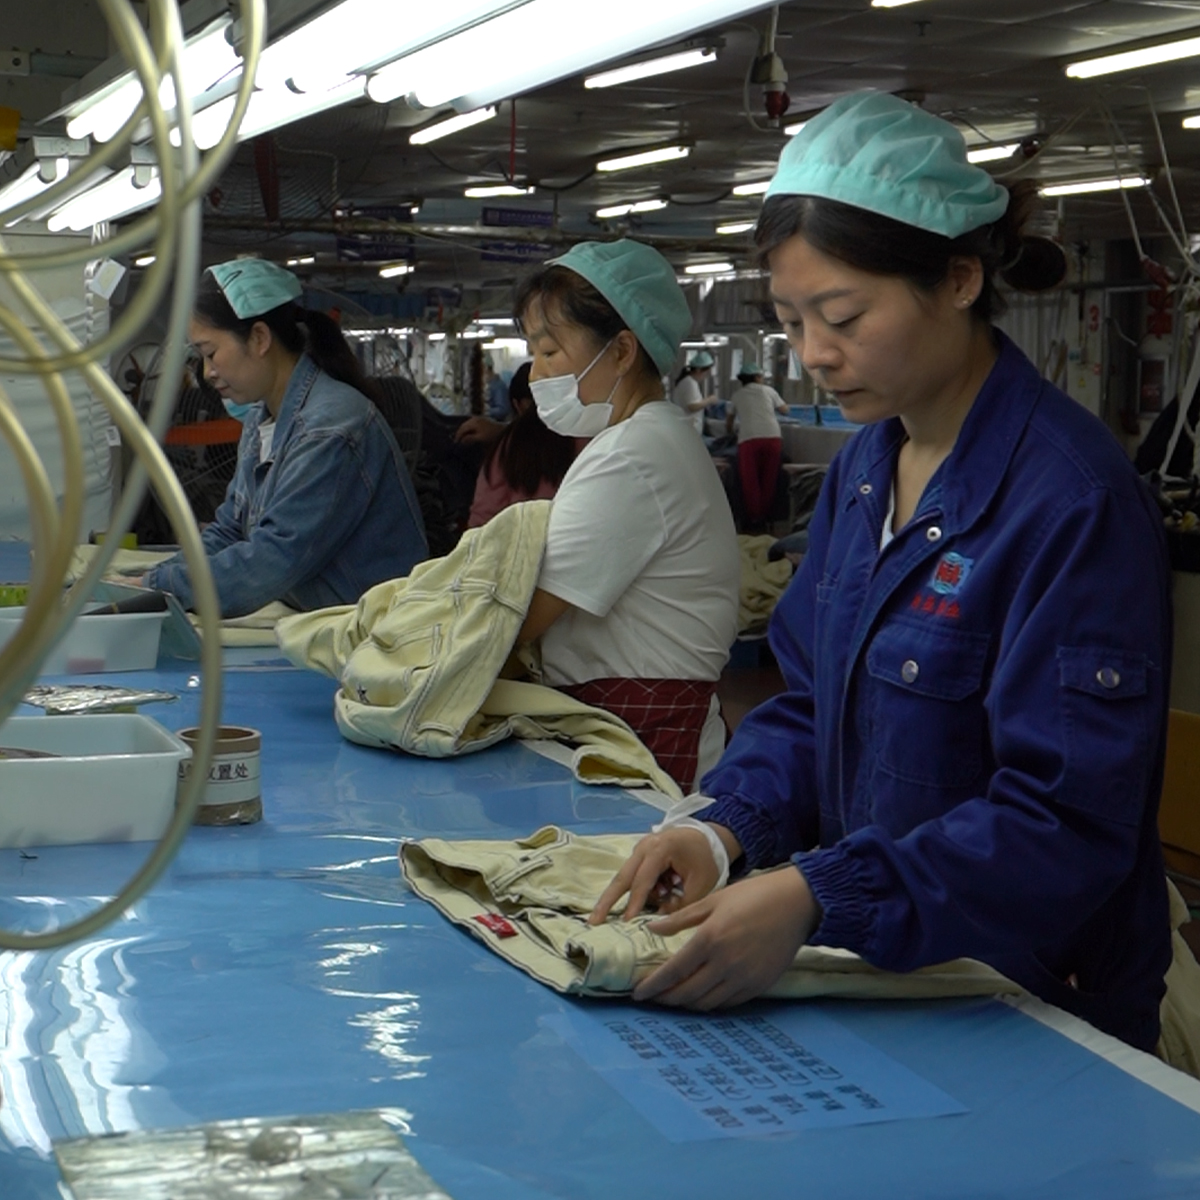
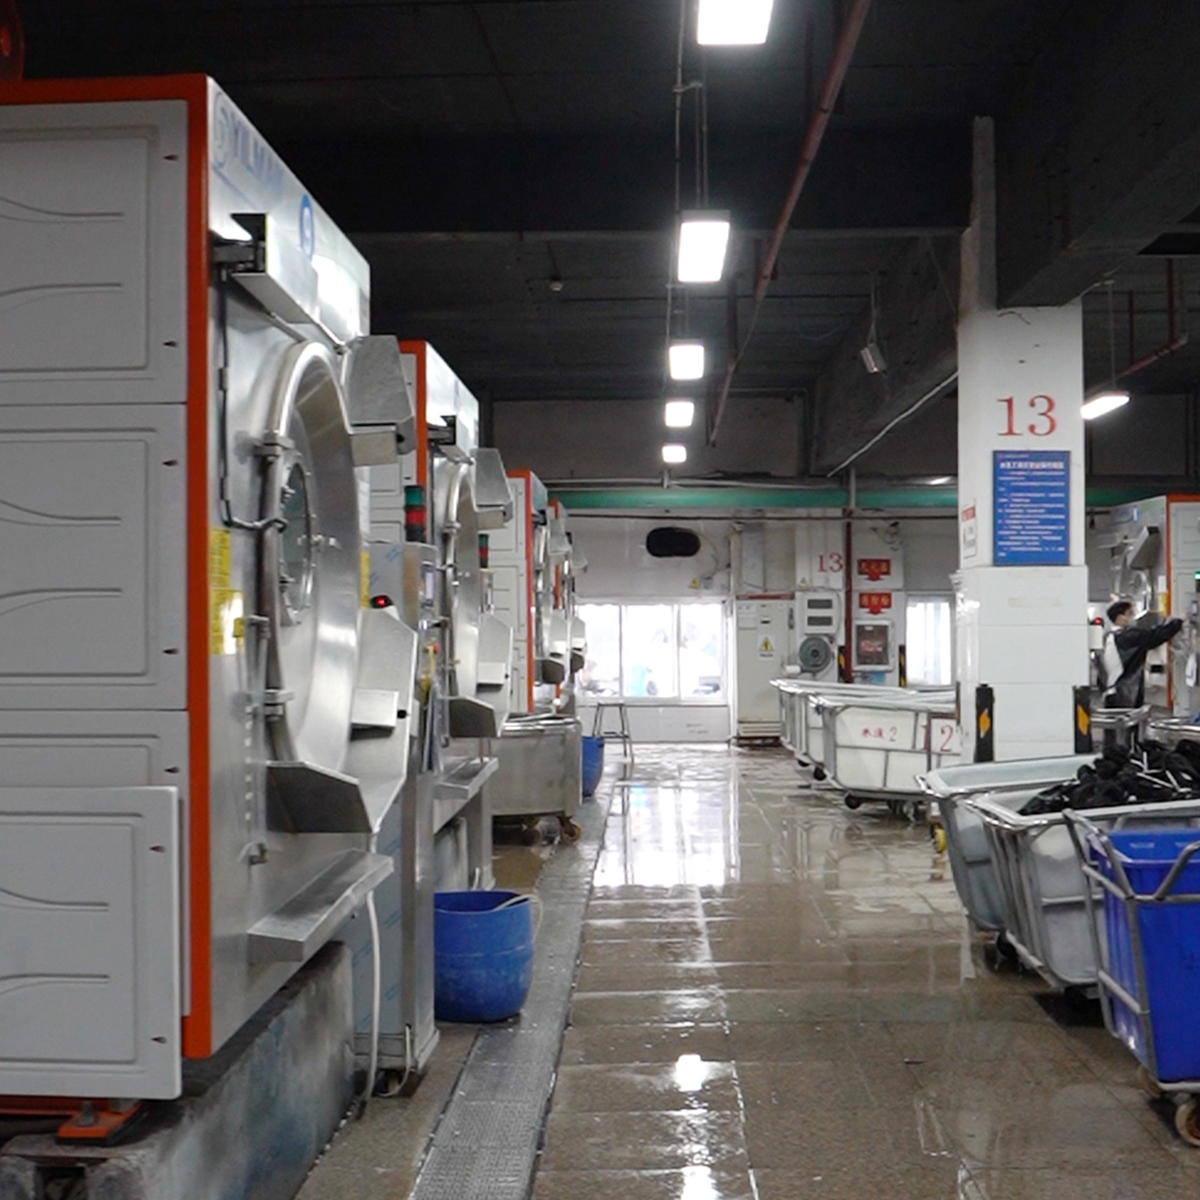
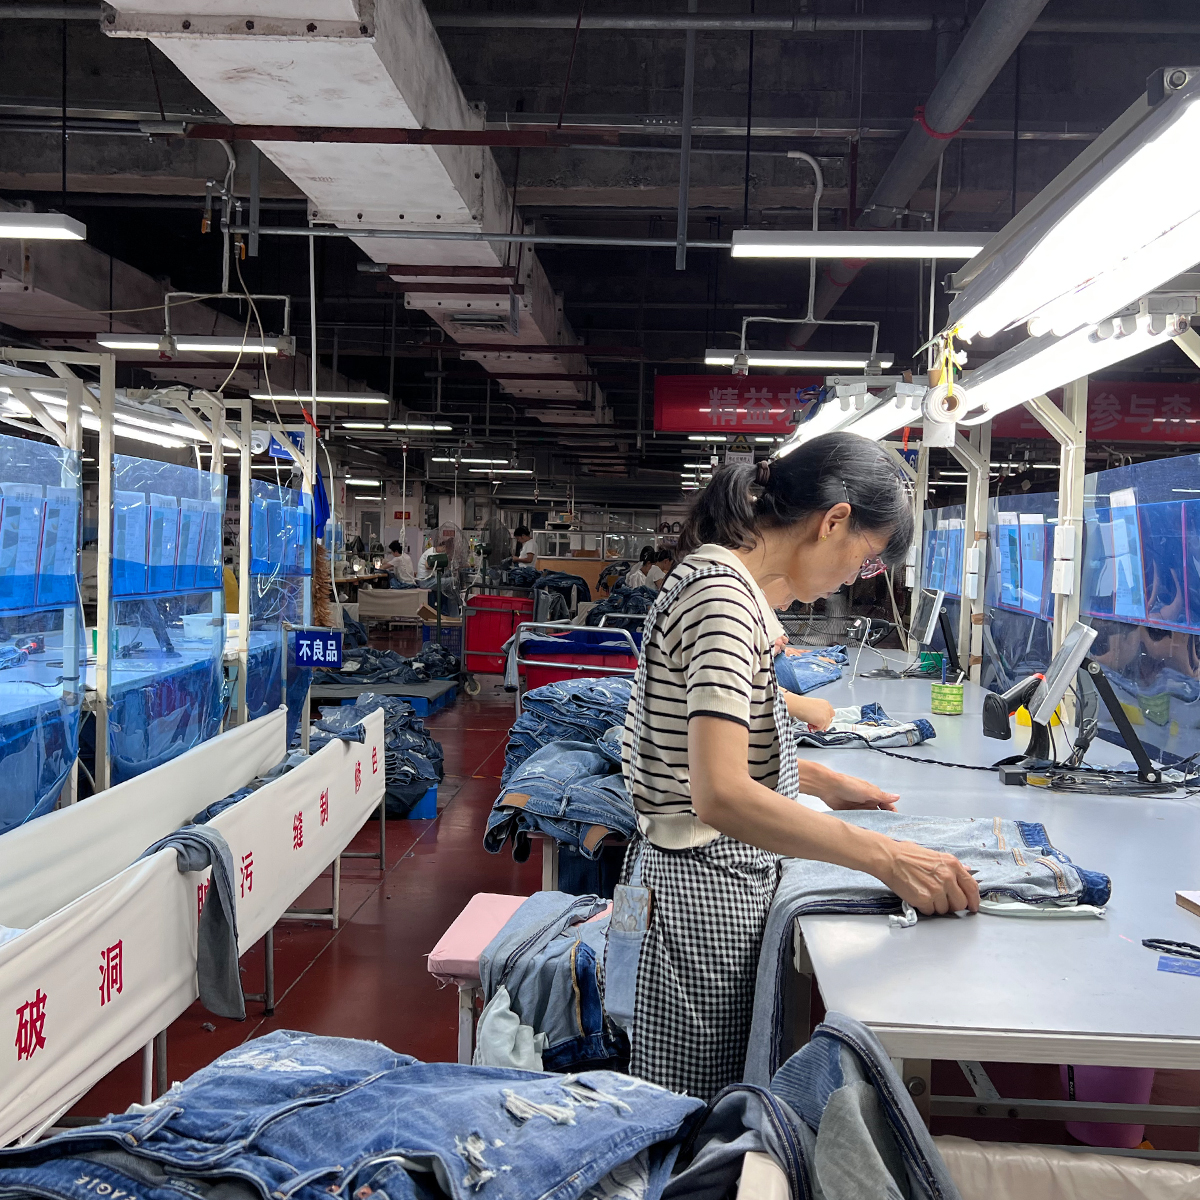
Industry Insight: From a Garment Factory View
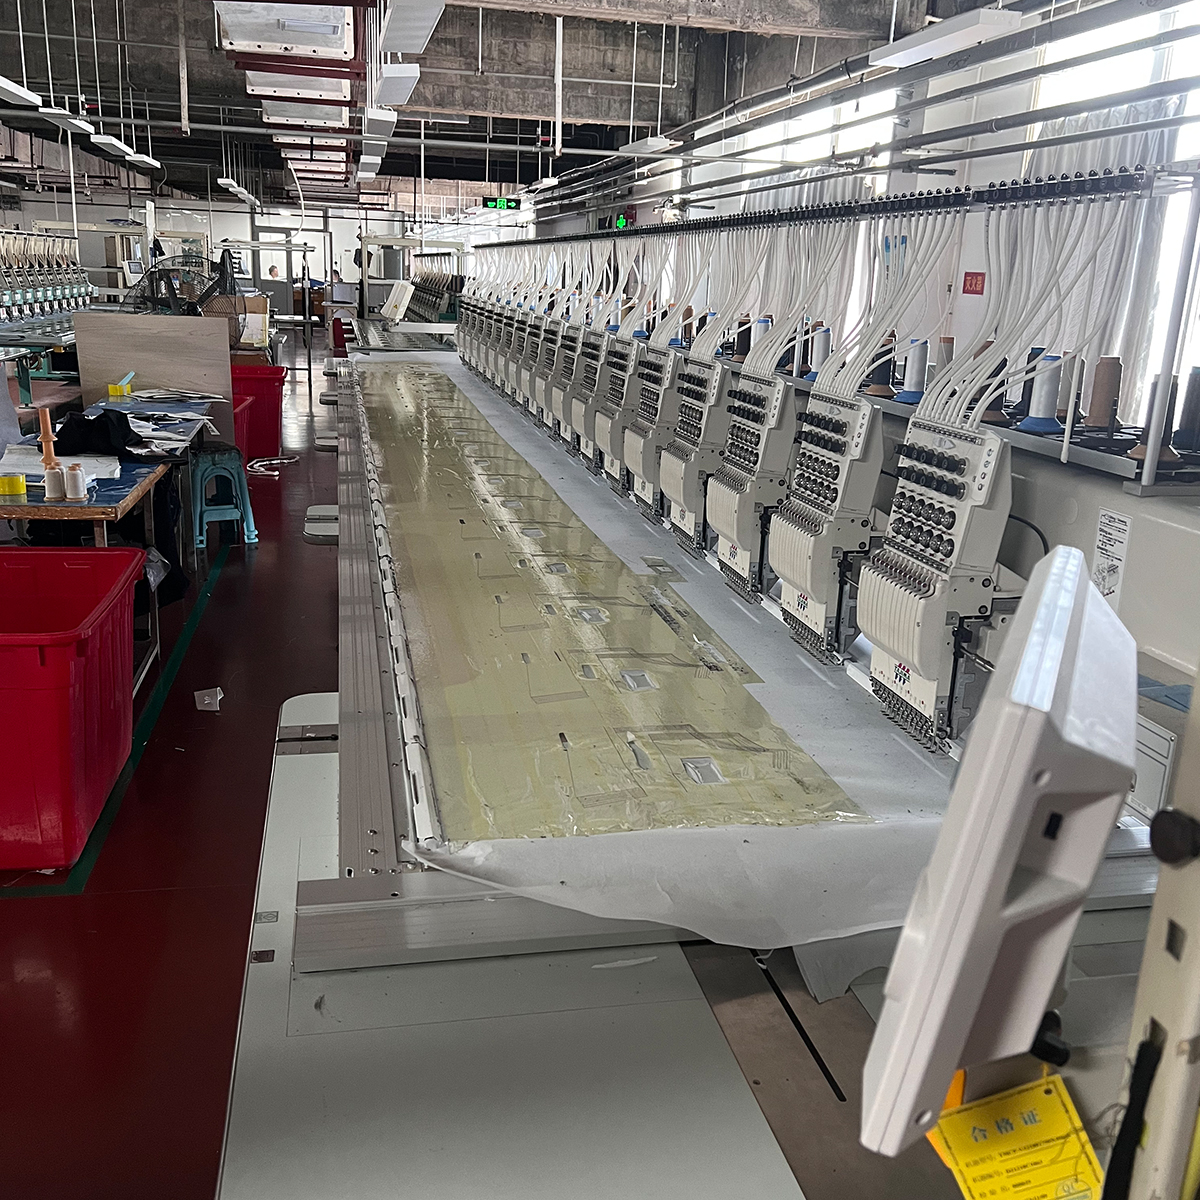
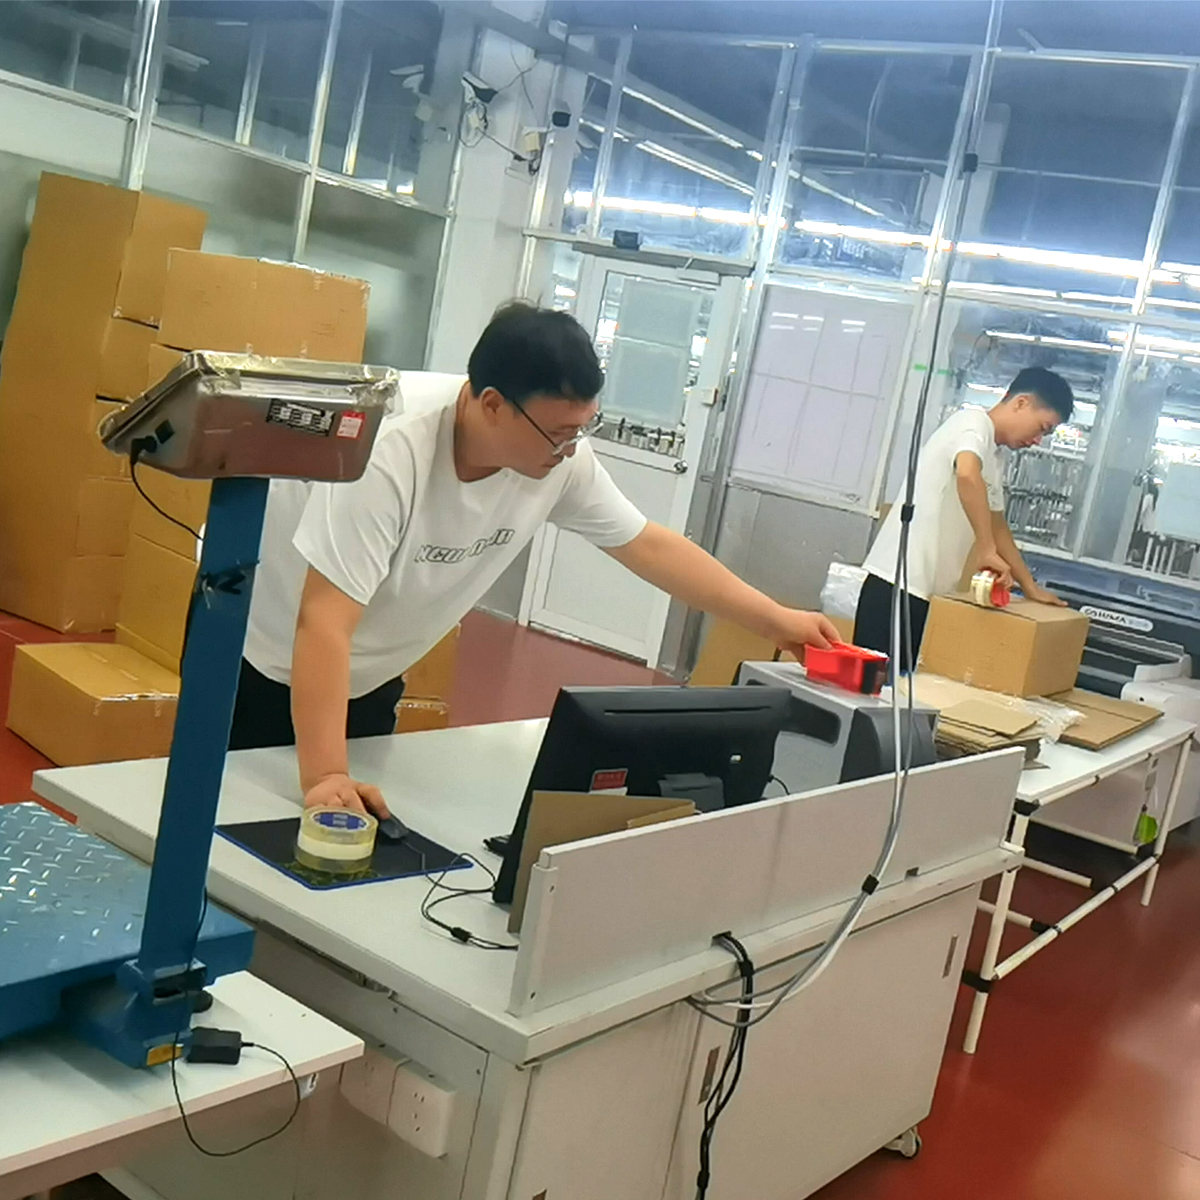
As an OEM/ODM garment partner with decades of manufacturing experience, we understand that waistband behavior is influenced by fabric composition, weaving, finishing, and the way a waistband is integrated into the overall garment. Denim with a slight stretch can tolerate more aggressive alterations, while a heavy non-stretch wool trouser requires careful handling to avoid distorting the silhouette. In mass production, designers often choose waistband details that minimize shrinkage and creep, such as higher-quality stabilizers, pre-shrunk fabrics, and reinforced seams. However, for consumers and small studios tackling repairs, the same principles apply on a smaller scale: respect the fabric’s nature, work gradually, and re-check fit after each adjustment. If your brand is looking for a reliable manufacturing partner to develop waistbands with improved longevity and comfort, Newasia Garment offers deep expertise in fabric choices, patterning, and consistent quality control across denim, casual pants, and jackets.
Frequently Asked Questions
- Will stretching or altering a waistband ruin the fabric or fibers?: In most cases, careful manipulation with proper tools will not ruin the fabric. The key is to work gradually, avoid over-stretching, and monitor tension on the seam lines. For delicate fabrics, consider a professional alteration to minimize risk.
- How long will a back-elastic fix last?: The longevity depends on wear and washing frequency. Elastic back inserts typically hold well for several months to a few years with proper care, but they may require replacement as elastic loses elasticity over time.
- Can these methods be applied to all pants?: Yes, with caveats. Fabric weight, weave, and waistband construction will influence which method works best. Heavier fabrics may require more robust reinforcement, while lightweight stretch fabrics may respond best to back elastic or gusset approaches.
- Should I attempt a permanent fix or simply use a belt for a long-term solution?: A belt is a quick, non-invasive solution that preserves the original construction. If you need a long-term, comfortable fit and the garment is otherwise well-made, investing in a structured alteration or waistband replacement will yield better results.
Takeaways and Next Steps
Waistband issues don’t have to derail your comfort or style. Start with quick fixes to confirm whether the problem is temporary or structural. If the issue is persistent, choose a durable solution tailored to the fabric and construction. Whether you relax the fit through careful seam work, add a back elastic insert, or replace the waistband, the goal is a secure, comfortable fit that preserves the garment’s appearance. For those who design, manufacture, or repair at scale, aligning waistband strategies with fabric performance and garment architecture can reduce returns and increase customer satisfaction. With the right approach, you can extend the life of existing garments and keep your wardrobe both comfortable and stylish.
Whether you’re a DIY enthusiast, a fashion professional, or a garment factory partner seeking reliable extension solutions, the core idea remains consistent: respect the fabric, plan the alteration, and test with care. A well-fitted waistband is not just about comfort; it’s about confidence in how your clothes look and move with you throughout the day.